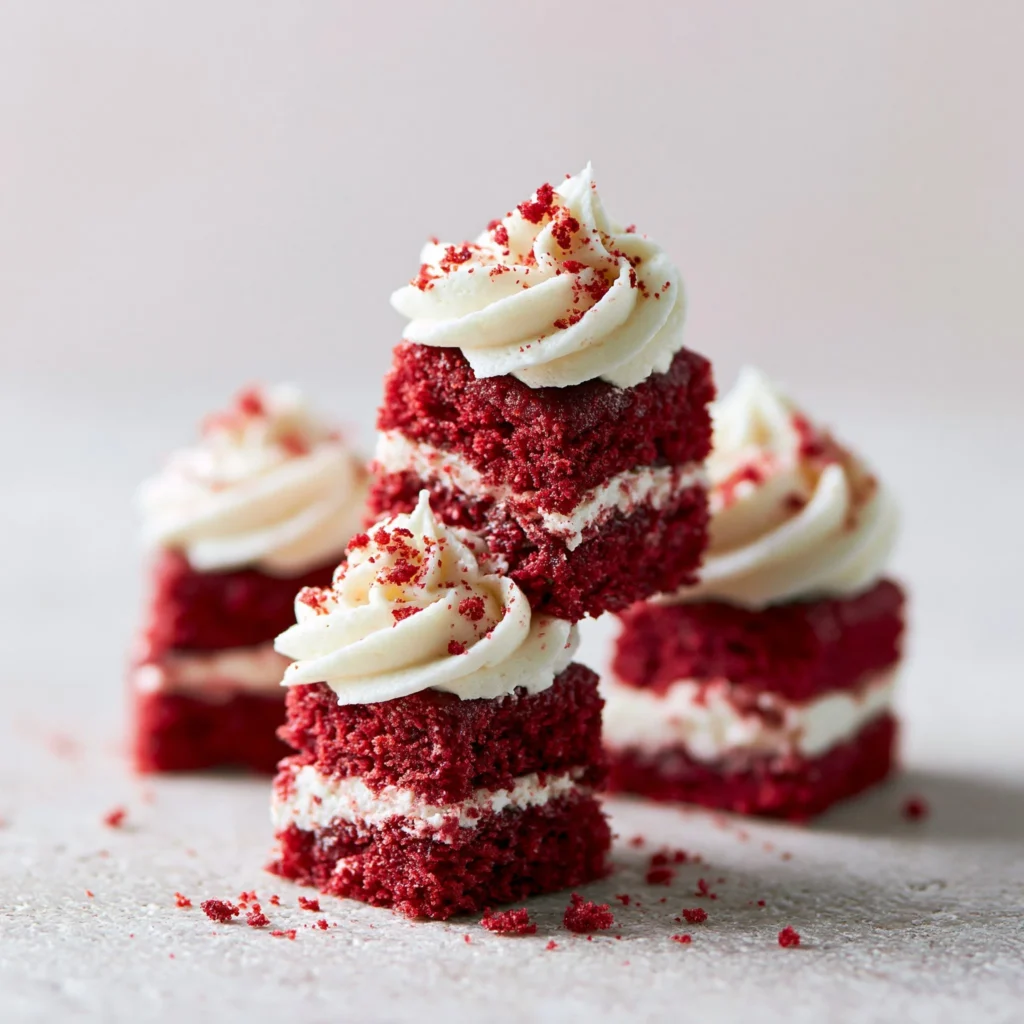
The best part about these red velvet cake minis is how quickly they go from “I’m craving something sweet” to a tray of tiny, ruby-colored cakes that look bakery-fancy but bake in about 10–12 minutes. The crumb is tender and moist from the oil and buttermilk, with that classic hint of cocoa that makes red velvet taste like more than just vanilla cake with dye. You may also find 3 Ingredient Banana Oatmeal Pancakes useful.
If you want a version with photos and extra visual cues, I keep an updated guide on red velvet cake minis—but you can absolutely nail them with the steps below and a mini muffin tin.
Why You’ll Love This Recipe
- The batter comes together in two bowls—whisk dry, whisk wet, then stir just until you don’t see dry flour.
- Buttermilk + a touch of cocoa gives that signature red velvet tang and soft chocolatey aroma without tasting like a full chocolate cake.
- They bake fast (10–12 minutes), so you’re not hovering over the oven for ages.
- Cream cheese frosting here is fluffy and smooth, with enough powdered sugar to hold its shape on the mini cakes.
- The mini size means more frosting-to-cake ratio in every bite (the best part, in my opinion).
- They cool quickly, so you can frost and serve sooner than a full layer cake.
The Story Behind This Recipe
I developed these when I wanted the flavor of red velvet with cream cheese frosting, but in a portion that felt playful and easy to share—mini muffin liners make them neat, portable, and way less fussy than slicing and plating a big cake.
What It Tastes Like
You’ll get a gentle cocoa note first, then that subtle buttermilk tang that keeps the sweetness in check. The cakes are soft and plush (not dense), and the frosting is creamy with a clean vanilla finish—rich, but not heavy when paired with the small cake size.
Ingredients You’ll Need
A few ingredients do the heavy lifting here: buttermilk brings tenderness and that classic red velvet edge, cocoa adds depth (it shouldn’t taste “chocolate,” just rounded), and oil keeps the crumb moist even after chilling. For the frosting, make sure your cream cheese and butter are softened so they whip smooth—cold cream cheese can leave tiny lumps.
- 1 cup all-purpose flour
- 1 cup granulated sugar
- 2 tablespoons unsweetened cocoa powder
- 1 teaspoon baking soda
- 1/2 teaspoon salt
- 1/2 cup vegetable oil
- 1/2 cup buttermilk
- 1 large egg
- 1 tablespoon red food coloring
- 1 teaspoon vanilla extract
- 4 ounces cream cheese, softened
- 1/2 cup unsalted butter, softened
- 2 cups powdered sugar
- 1 teaspoon vanilla extract
How to Make Red Velvet Cake Minis
- Heat the oven and prep the pan. Preheat to 350°F (175°C). Line a mini muffin tin with paper liners so the cakes lift out cleanly and keep their shape.
- Whisk the dry ingredients. In a medium bowl, whisk the flour, granulated sugar, cocoa powder, baking soda, and salt until the cocoa looks evenly distributed (no dark streaks).
- Whisk the wet ingredients. In a second bowl, whisk the vegetable oil, buttermilk, egg, red food coloring, and vanilla until the mixture looks smooth and uniformly red.
- Combine gently. Pour the wet mixture into the dry mixture and stir just until combined. The batter should look smooth and glossy—stop mixing as soon as you don’t see dry flour so the minis stay tender.
- Fill the liners. Spoon batter into the lined mini muffin cups, filling each about 2/3 full. This gives them room to rise into neat domes instead of spilling over.
- Bake. Bake for 10–12 minutes, until a toothpick inserted in the center comes out clean. The tops should spring back lightly when touched.
- Cool completely. Let the mini cakes cool all the way before frosting—any warmth will soften the frosting and make it slide.
- Beat the frosting base. Beat the softened cream cheese and butter together until completely smooth and creamy.
- Sweeten and fluff. Gradually add the powdered sugar and vanilla, mixing until the frosting looks fluffy and holds soft peaks.
- Frost and serve. Frost the cooled minis and serve at room temperature for the creamiest frosting texture.
Tips for Best Results
- For the most even rise, fill each cup consistently to about 2/3—a little underfilled bakes flatter, overfilled can mushroom over the liner.
- Mix the batter only until you stop seeing flour; overmixing can make these minis lose that soft, velvety crumb.
- If your frosting looks a bit loose, it usually just needs another minute of beating to aerate and thicken—softened butter and cream cheese whip up lighter.
- Cool the cakes fully before frosting; the mini size cools fast, but give it time so the frosting stays fluffy instead of glossy and melty.
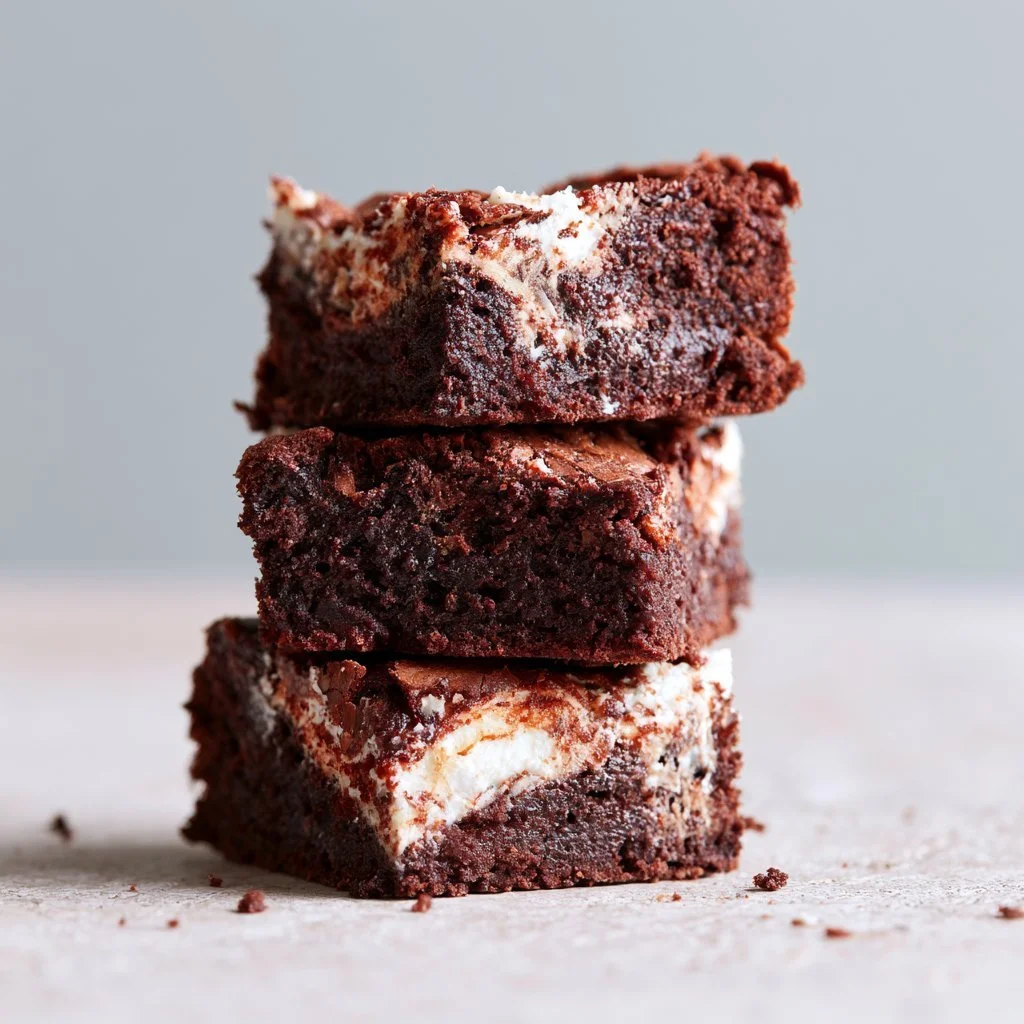
- Love red velvet in other forms? After these, try red velvet brownies when you want something fudgier and more bar-cookie-like.
Variations and Substitutions
If you want a slightly deeper color, you can add a touch more red food coloring (the flavor won’t change much, but the look will). And if you’re craving something more dramatic than minis, the vibe shifts beautifully in a taller, moodier cake like a blackberry velvet gothic-style cake—same “velvet” spirit, totally different presentation.
How to Serve It
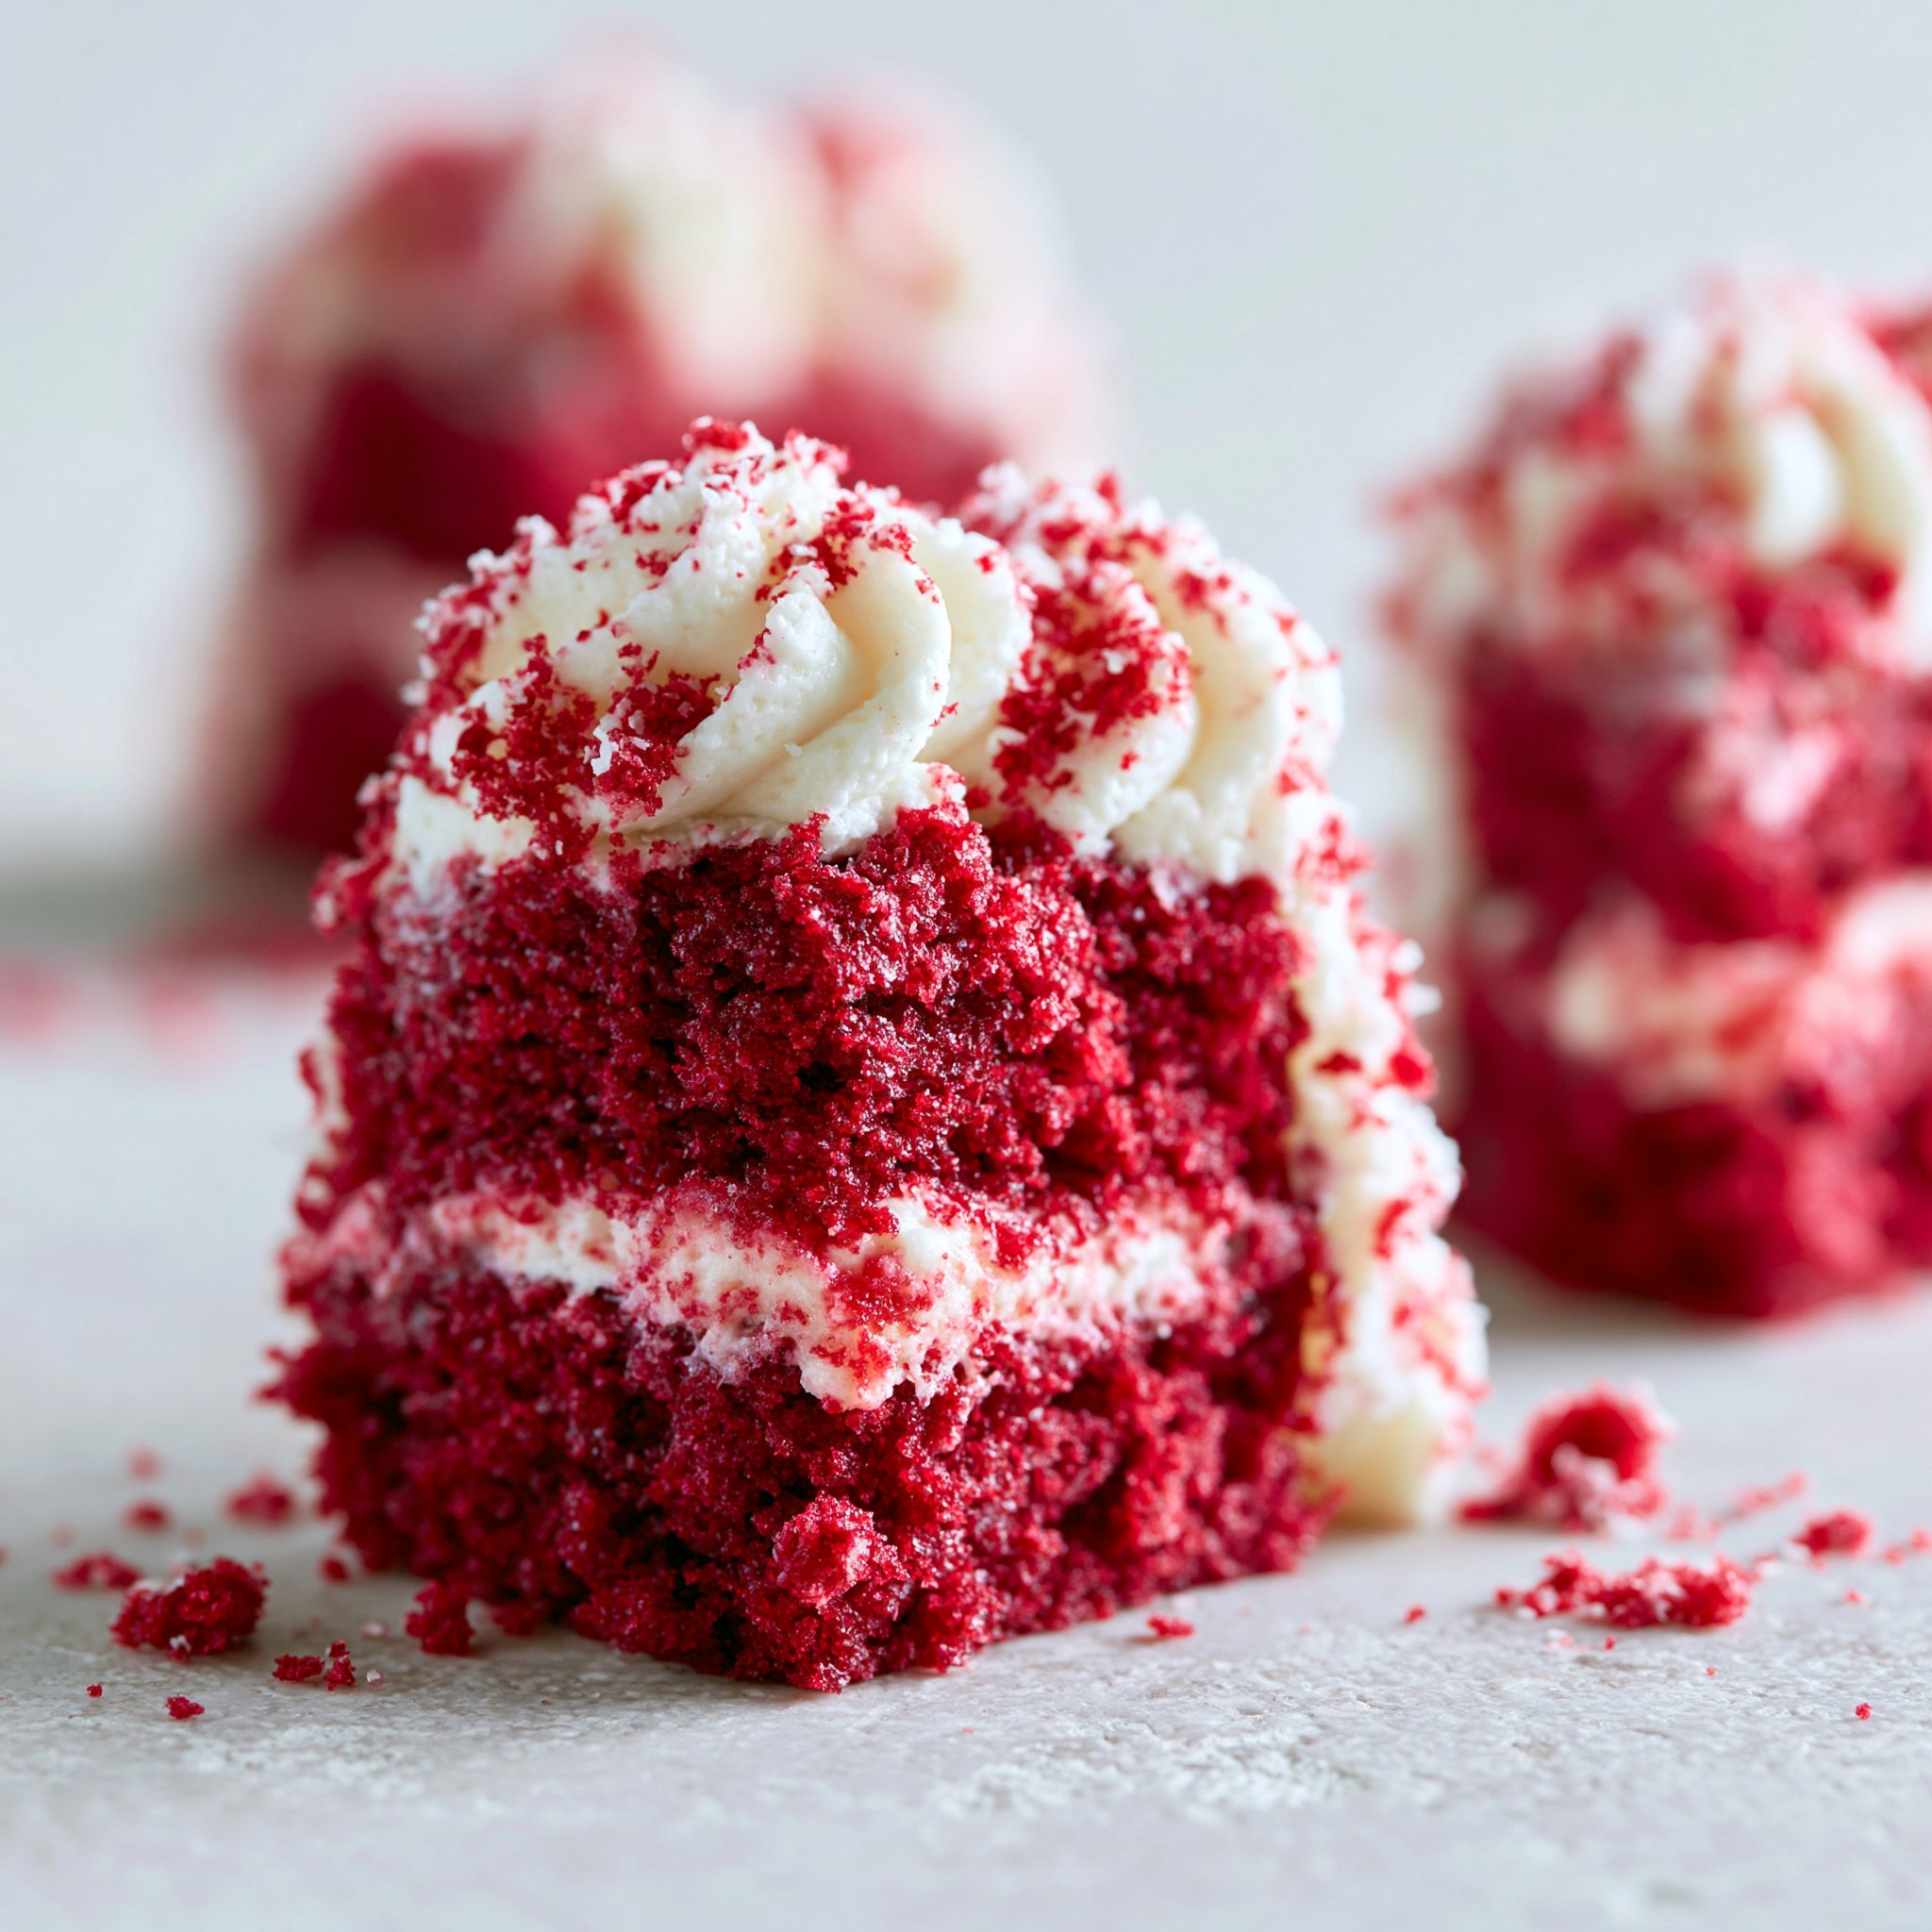
Serve these at room temperature so the cream cheese frosting tastes extra creamy (straight-from-the-fridge frosting can feel a bit firm). I love arranging them on a platter so the red cake peeks out from the liners, and if you’re building a dessert spread, they pair nicely with something cool and creamy like a red velvet cheesecake for a fun “two textures” moment.
How to Store It
Because of the cream cheese frosting, store the frosted minis in the refrigerator in a covered container. For the best texture, let them sit out for a short bit before serving so the frosting softens slightly. If you want to make them ahead, you can bake and cool the minis first, then frost closer to serving for the freshest look.

Final Thoughts
These mini red velvet cakes are the kind of small bake that feels special without taking over your afternoon—quick batter, fast bake, and a frosting that’s genuinely worth licking off the spoon.
Conclusion
If you’re interested in comparing mini red velvet approaches from other bakers, I like the styling and technique notes in Sprinkle Bakes’ red velvet cake minis, the extra-moist crumb tips in Amycakes Bakes’ mini red velvet cakes, and the scaling perspective in Sugar & Sparrow’s small batch red velvet cake.