
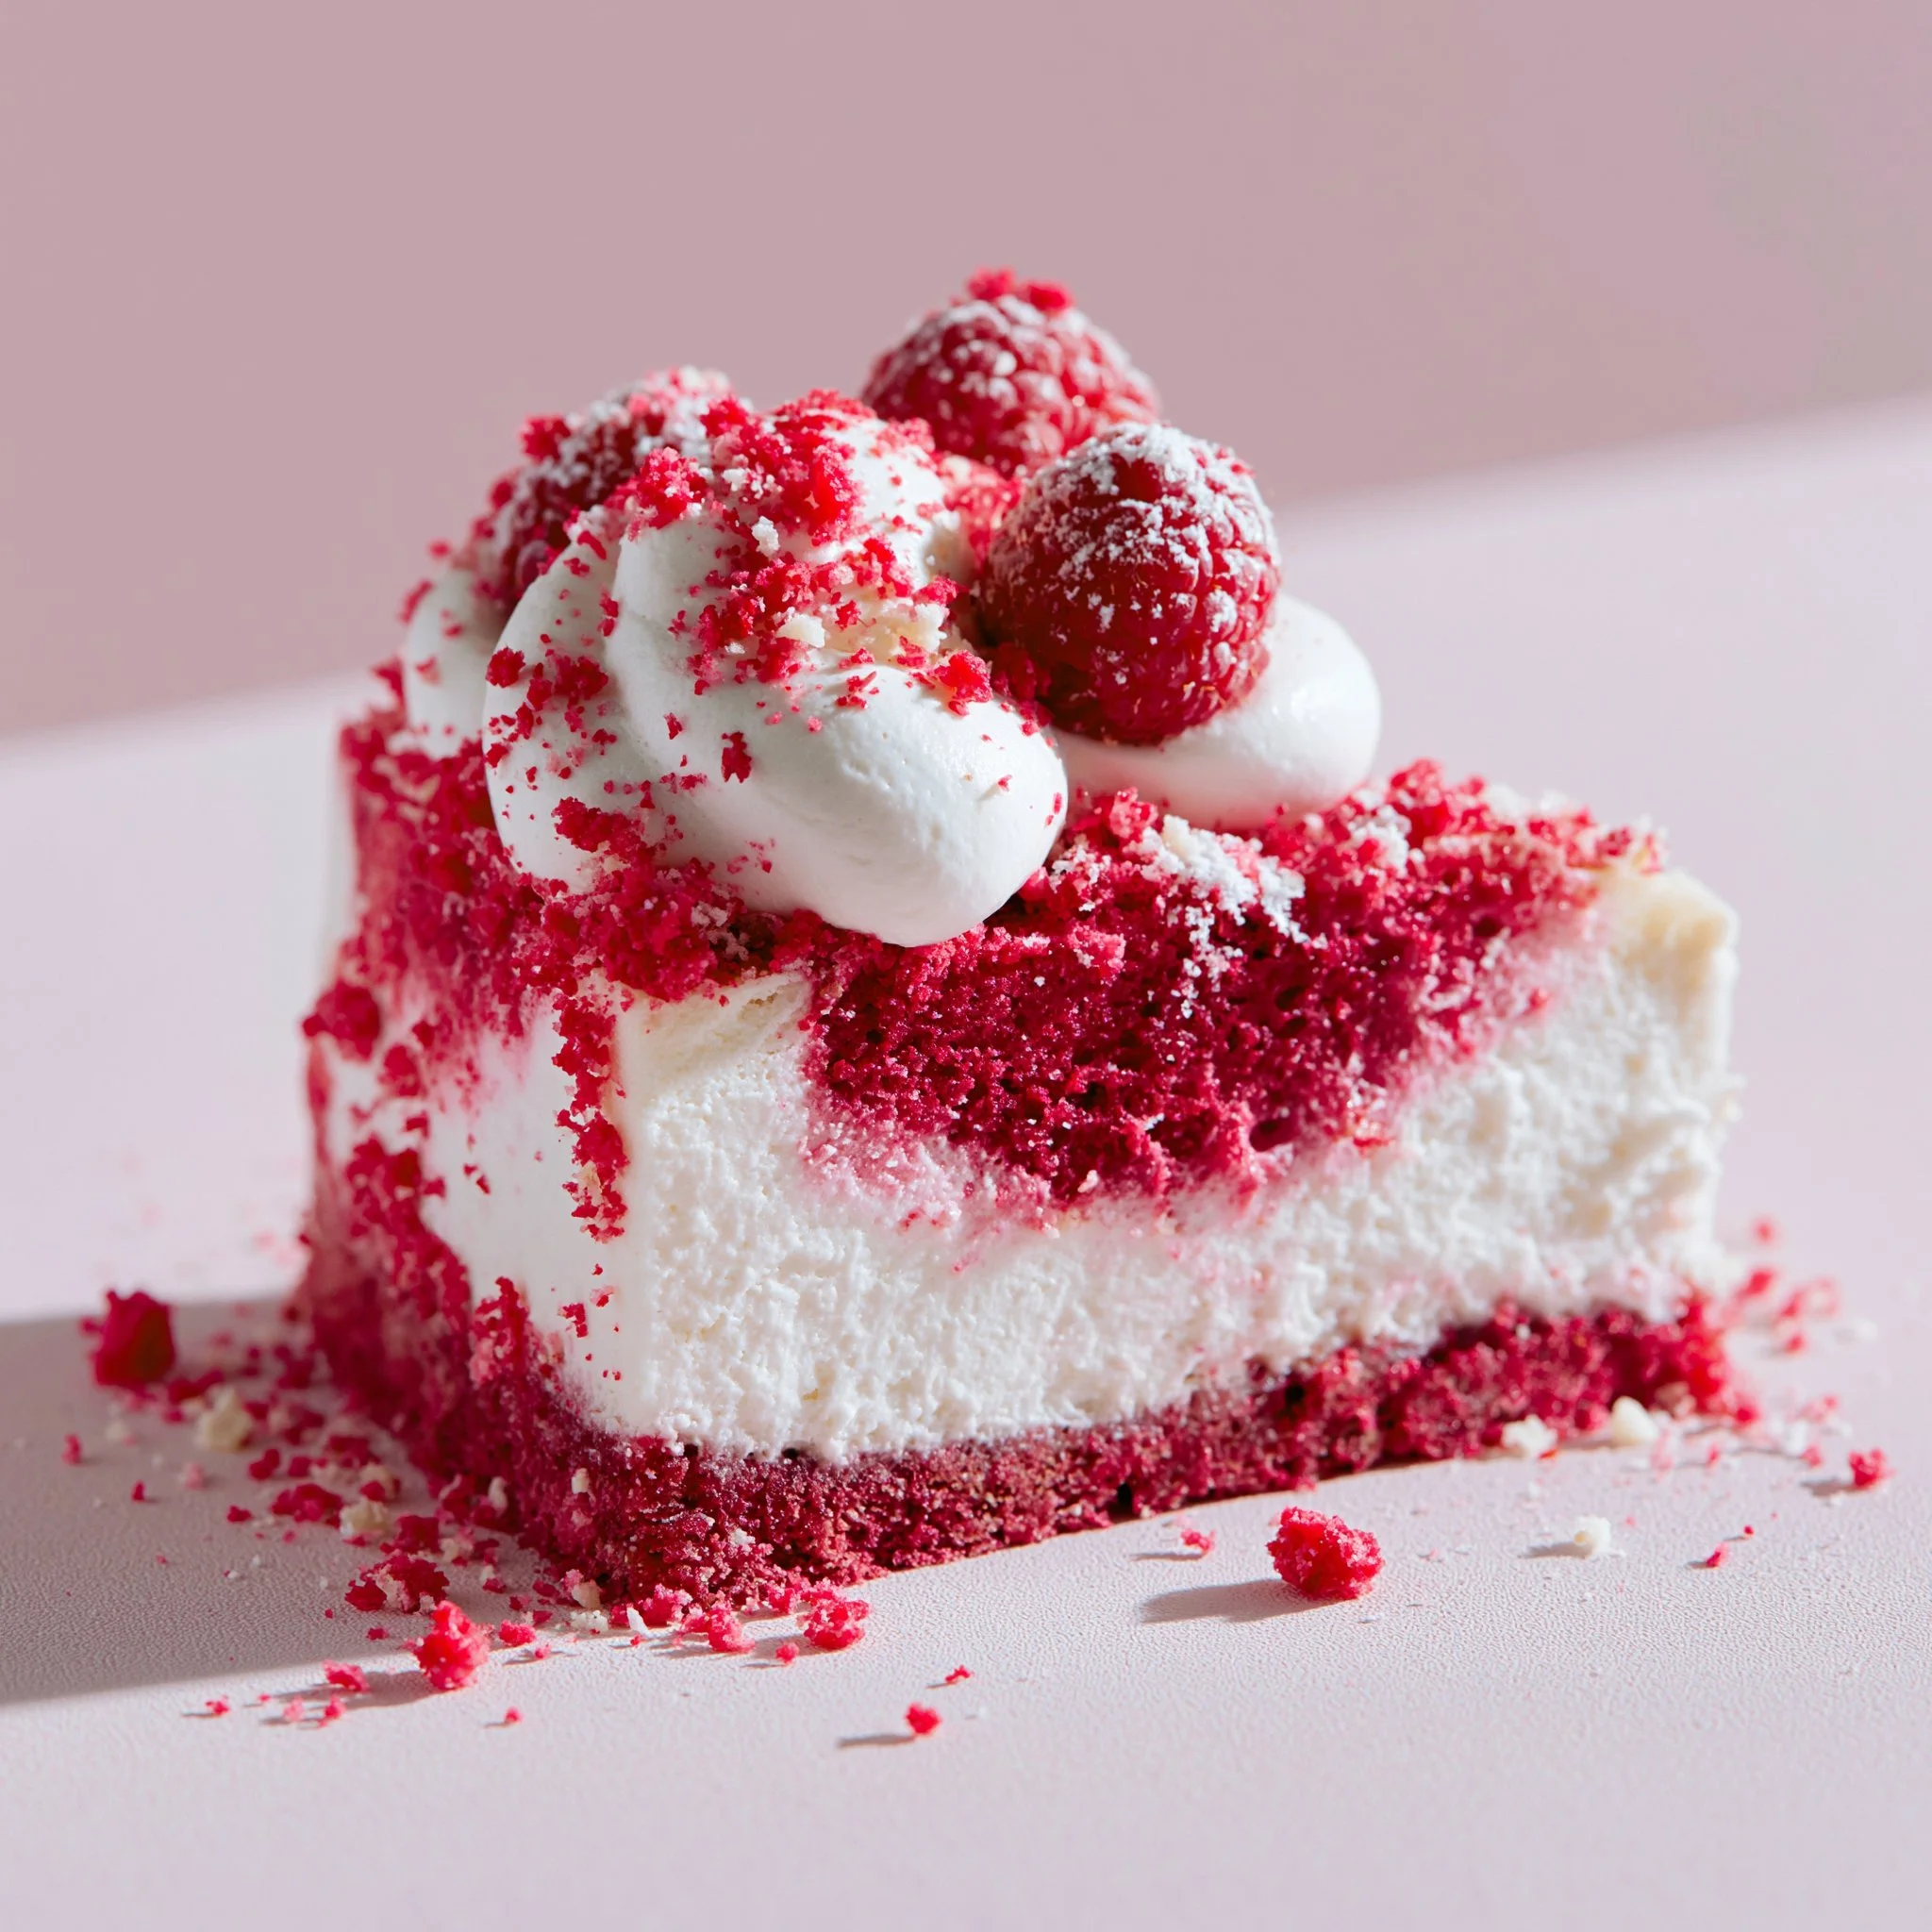
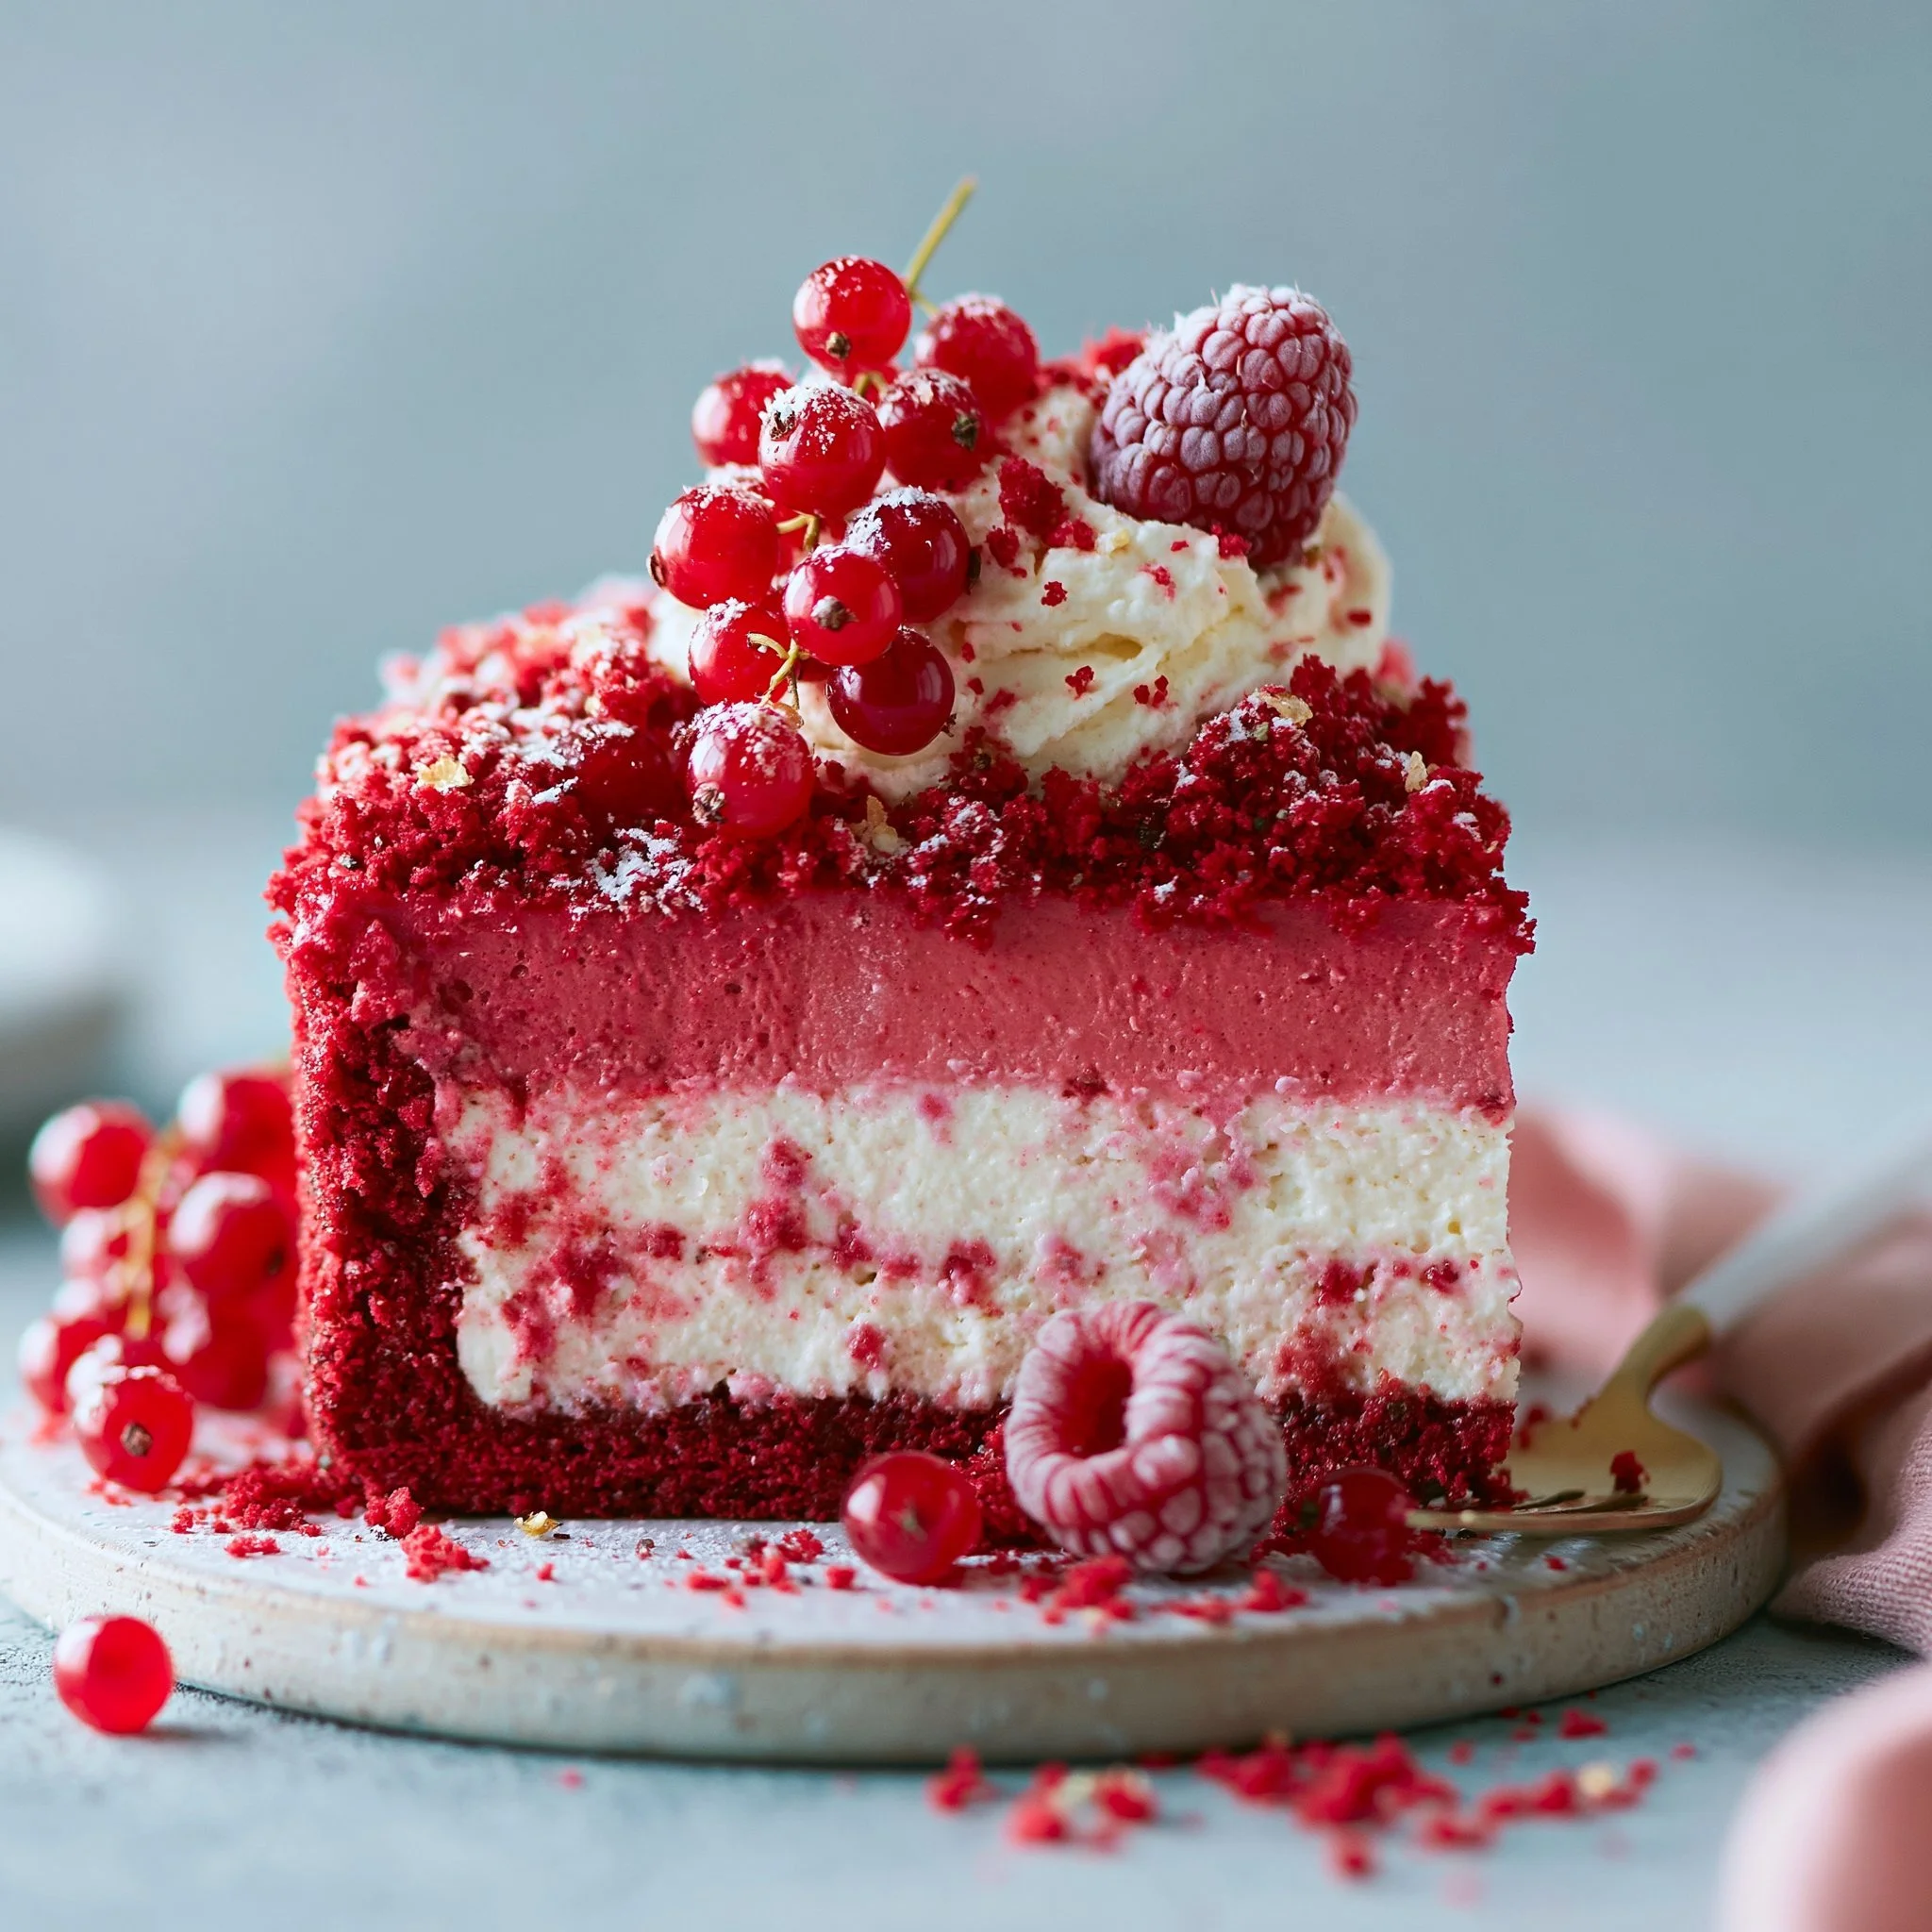
The first time I made this Knock You Naked Red Velvet Cheesecake, I couldn’t stop slicing “just one more sliver.” You get a tender red velvet cake base (thank you, cake mix) topped with a thick, vanilla-scented cheesecake layer that bakes up creamy and plush—not stiff or dry.
The finishing touch is a soft cloud of sweetened whipped cream that makes every bite feel lighter, plus optional red velvet crumbs for that dramatic ruby-on-white look. If you like a bakery-style dessert but want it doable at home, this one delivers—and it pairs nicely after a simple dinner or even a cozy brunch spread alongside something easy like banana oatmeal pancakes.
Why You’ll Love This Recipe
- Two-in-one dessert, no fussy layers: A baked red velvet cake base plus a cheesecake layer all in the same 9" springform.
- Big texture contrast: Tender cake underneath, creamy cheesecake in the middle, and pillowy whipped topping on top.
- That classic red velvet vibe without extra steps: The cake mix does the heavy lifting, and the cheesecake batter is a straightforward stir-and-bake.
- Clean slices after chilling: A 4-hour fridge rest firms the cheesecake so it cuts neatly without smearing into the cake layer.
- Crowd-pleasing presentation: The bright red cake peeking at the edges with a white whipped cap looks like you worked harder than you did.
The Story Behind This Recipe
I wanted a red velvet dessert that felt a little over-the-top in the best way, but still practical for a home kitchen—so I leaned on a boxed red velvet cake for consistency and saved my energy for the cheesecake layer and that fluffy whipped topping (the part people always go back for).
What It Tastes Like
It’s sweet and rich, but not heavy in a one-note way: the cheesecake has a tangy lift from sour cream, vanilla comes through warmly, and the red velvet cake base stays tender and cocoa-kissed. When it’s fully chilled, the cheesecake layer turns smooth and creamy while the whipped cream melts into the top like a lightly sweet vanilla cloud.
Ingredients You’ll Need
A few details make this one work: softened cream cheese is non-negotiable for a smooth cheesecake layer, sour cream adds a gentle tang and keeps the texture creamy, and a touch of flour helps the cheesecake set without getting rubbery. For the topping, start with cold heavy whipping cream so it whips up quickly and holds soft peaks.
- 1 box red velvet cake mix (plus eggs, oil, and water as directed)
- 16 oz cream cheese, softened
- ⅔ cup granulated sugar
- 2 large eggs
- ⅓ cup sour cream
- 1 tbsp all-purpose flour
- 1 tsp vanilla extract
- ¼ tsp salt
- 2 cups heavy whipping cream
- 4 tbsp powdered sugar
- 2 tsp vanilla extract
- Optional: red velvet cake crumbs for garnish
How to Make Knock You Naked Red Velvet Cheesecake
-
Bake the red velvet base.
Preheat the oven to 350°F (175°C). Grease a 9" springform pan really well (get into the corners). Prepare the red velvet cake mix according to the box directions, then pour the batter into the pan. Bake for 30–32 minutes, until a toothpick inserted in the center comes out clean. Cool the cake completely—warm cake can soften the cheesecake layer. -
Chill the cake and mix the cheesecake batter.
Slide the cooled cake into the fridge while you make the cheesecake layer. Lower the oven temperature to 325°F (163°C). In a mixing bowl, beat the softened cream cheese with the granulated sugar until smooth and creamy (no visible lumps). Add the eggs one at a time, mixing just until each one disappears into the batter—overmixing here can lead to cracking. Mix in the sour cream, flour, vanilla, and salt until the batter looks glossy and thick. -
Add the cheesecake layer and bake.
Line the sides of the springform pan with parchment (this makes releasing the cheesecake cleaner). Pour the cheesecake batter over the chilled cake base and smooth the top. Bake for 55–60 minutes, until the center is just set—it should look slightly jiggly in the very middle but not sloshy. Cool at room temperature, then refrigerate for 4 hours so it fully firms up. -
Finish with whipped topping.
In a cold mixing bowl, whip the heavy cream with the powdered sugar and vanilla until soft peaks form (it should hold gentle curls, not look stiff or grainy). Spread or pipe the whipped topping over the chilled cheesecake. Sprinkle with red velvet cake crumbs if you want that classic red-on-white contrast. Slice and serve chilled.
Tips for Best Results
- Let the cream cheese truly soften. If it’s still cool in the center, you’ll chase lumps forever, and they’ll show up in the baked cheesecake.
- Mix the eggs in gently. Stop as soon as each egg disappears—this keeps the cheesecake creamy and helps prevent surface cracks.
- Use the “just set” cue, not a fully firm center. The cheesecake continues setting as it cools and chills; baking until it’s rock-solid can make it dry.
- Chill for the full 4 hours before slicing. This is when the layers become distinct and the knife cuts cleanly through cake + cheesecake.
- Whip to soft peaks for the dreamiest topping. Soft peaks spread like a cloud; overwhipped cream can look a little rough and lose that silky finish.
If you’re planning a dessert table, this is a great anchor next to smaller bites—something simple and snacky like these 3-ingredient banana oatmeal pancakes can even pull double duty as a casual brunch option earlier in the day.
Variations and Substitutions
- Garnish or no garnish: The red velvet crumbs are optional, but they add a pretty pop and hint at what’s inside.
- Swirl vs. smooth top: You can keep the whipped topping rustic and swirly with a spoon, or pipe it for cleaner slices—either way tastes the same.
- More or less topping: If you like a thicker whipped layer, you can pile it on; just keep the cream whipped to soft peaks so it stays plush.
How to Serve It
Serve it well-chilled so the cheesecake stays creamy and the slices hold their shape. I like clean, bakery-style wedges with a thick cap of whipped topping and a sprinkle of red velvet crumbs right before bringing it to the table. For a relaxed spread, pair it with hot coffee or a cold glass of milk—then tuck any extra slices back into the fridge quickly (it softens as it warms). If you’re building a brunch menu, it’s surprisingly nice as a sweet finish after something simple like banana oatmeal pancakes with fruit.
How to Store It
Store the cheesecake covered in the refrigerator (it’s dairy-rich and needs to stay cold). It holds nicely for several days, and the texture actually gets even cleaner after an overnight chill. For the prettiest topping, you can whip and add the cream the day you plan to serve, but it’s also fine to store leftovers already topped—just cover gently so you don’t smudge the whipped layer. If you’re making it ahead for company, bake and chill the cheesecake first, then finish with whipped cream before serving. For another easy make-ahead breakfast to balance a dessert-heavy weekend, I often prep a batch of banana oatmeal pancakes too.
Final Thoughts
This is the kind of dessert that looks dramatic on a plate but is genuinely manageable: cake mix base, a creamy cheesecake layer with a touch of sour cream tang, and that soft vanilla whipped topping that makes every bite feel extra. Take your time with the chilling step, and you’ll be rewarded with clean slices and that bold red velvet contrast.
Conclusion
If you want to see another take on this exact style of dessert, this Knock You Naked Red Velvet Cheesecake is a fun reference for how others layer and finish it. For more red velvet cheesecake inspiration, you might also like this Red Velvet Cheesecake version. And if you’re curious where the “knock you naked” name shows up in other treats, these Knock You Naked Brownies are a classic spin on the idea.

Knock You Naked Red Velvet Cheesecake
Ingredients
Method
- Preheat the oven to 350°F (175°C) and grease a 9" springform pan.
- Prepare the red velvet cake mix according to the box directions and pour it into the pan.
- Bake for 30–32 minutes, until a toothpick inserted in the center comes out clean.
- Cool the cake completely.
- Slide the cooled cake into the fridge while you lower the oven temperature to 325°F (163°C).
- In a mixing bowl, beat the softened cream cheese with the granulated sugar until smooth and creamy.
- Add the eggs one at a time, mixing just until incorporated to prevent cracking.
- Mix in the sour cream, flour, vanilla, and salt until the batter is glossy and thick.
- Line the sides of the springform pan with parchment.
- Pour the cheesecake batter over the chilled cake base and smooth the top.
- Bake for 55–60 minutes, until the center is slightly jiggly but not sloshy.
- Cool at room temperature, then refrigerate for 4 hours until firm.
- In a cold mixing bowl, whip the heavy cream with powdered sugar and vanilla until soft peaks form.
- Spread or pipe the whipped topping over the chilled cheesecake.
- Sprinkle with red velvet crumbs if desired, slice, and serve chilled.