Warm cocoa and vanilla hit you first with these gluten-free mini brownie bites, and then you get that best part: a tender, fudgy center tucked inside a lightly set top. They bake in a mini muffin tin, so you get built-in portions with crisp little edges—no slicing, no crumbs everywhere.
When I’m already heating the oven for something else, I’ll often slide in a tray of these as a sweet “bonus.” If you’re into small, snackable treats, you’ll probably also love my mini banana pancake bites—same tiny, poppable energy, just breakfast-leaning.
Why You’ll Love This Recipe
- Deep chocolate flavor from a full 1/2 cup of cocoa powder, balanced by vanilla.
- A mix of white sugar and brown sugar gives you a fudgy chew with a little caramel warmth.
- Mini muffin format = quick bake (12–15 minutes) and tidy, consistent portions.
- One bowl for dry + one bowl for wet, and the batter comes together fast without a mixer.
- The tops set nicely while the middle stays soft if you pull them as soon as a toothpick comes out clean.
The Story Behind This Recipe
I developed these for those moments when you want “brownie satisfaction” but don’t want to commit to a whole pan—plus, mini tins are forgiving and make it easy to nail that set-on-top, tender-in-the-middle texture without overbaking.
What It Tastes Like
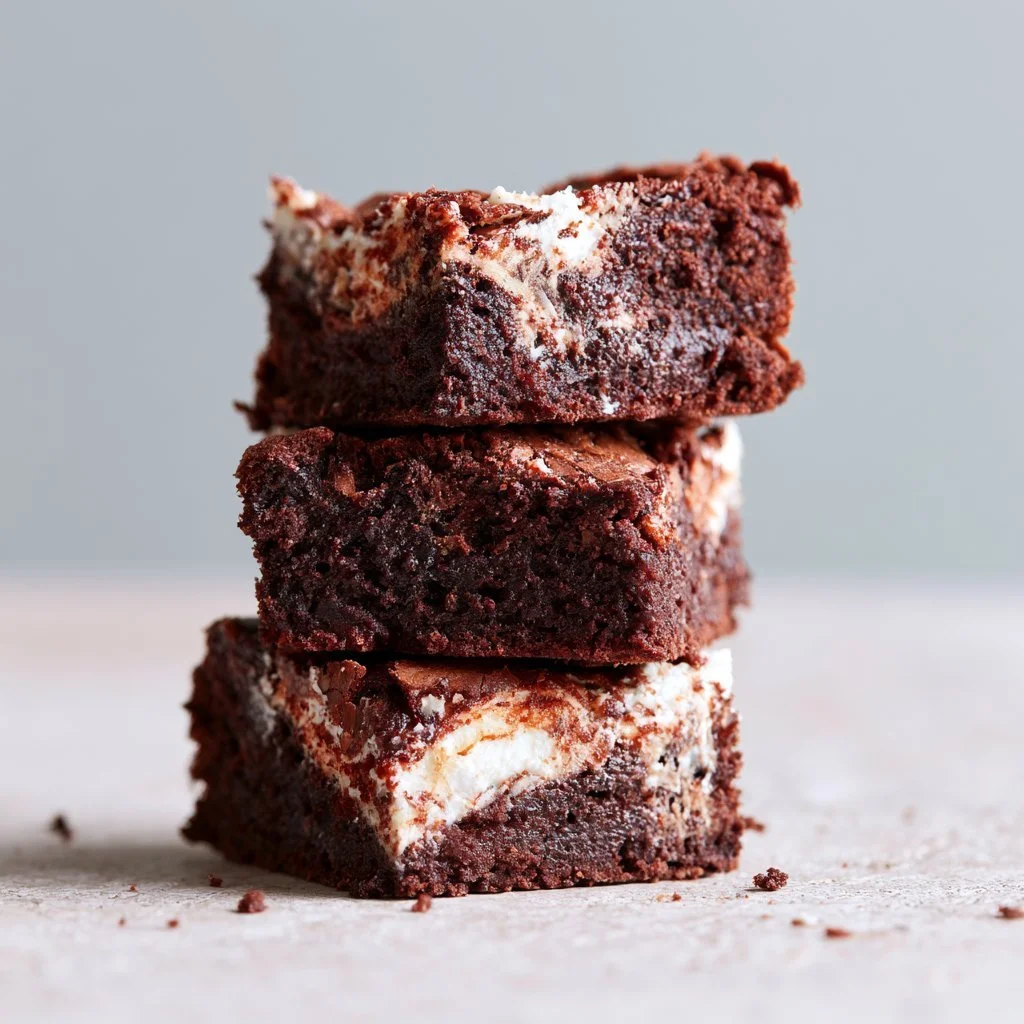
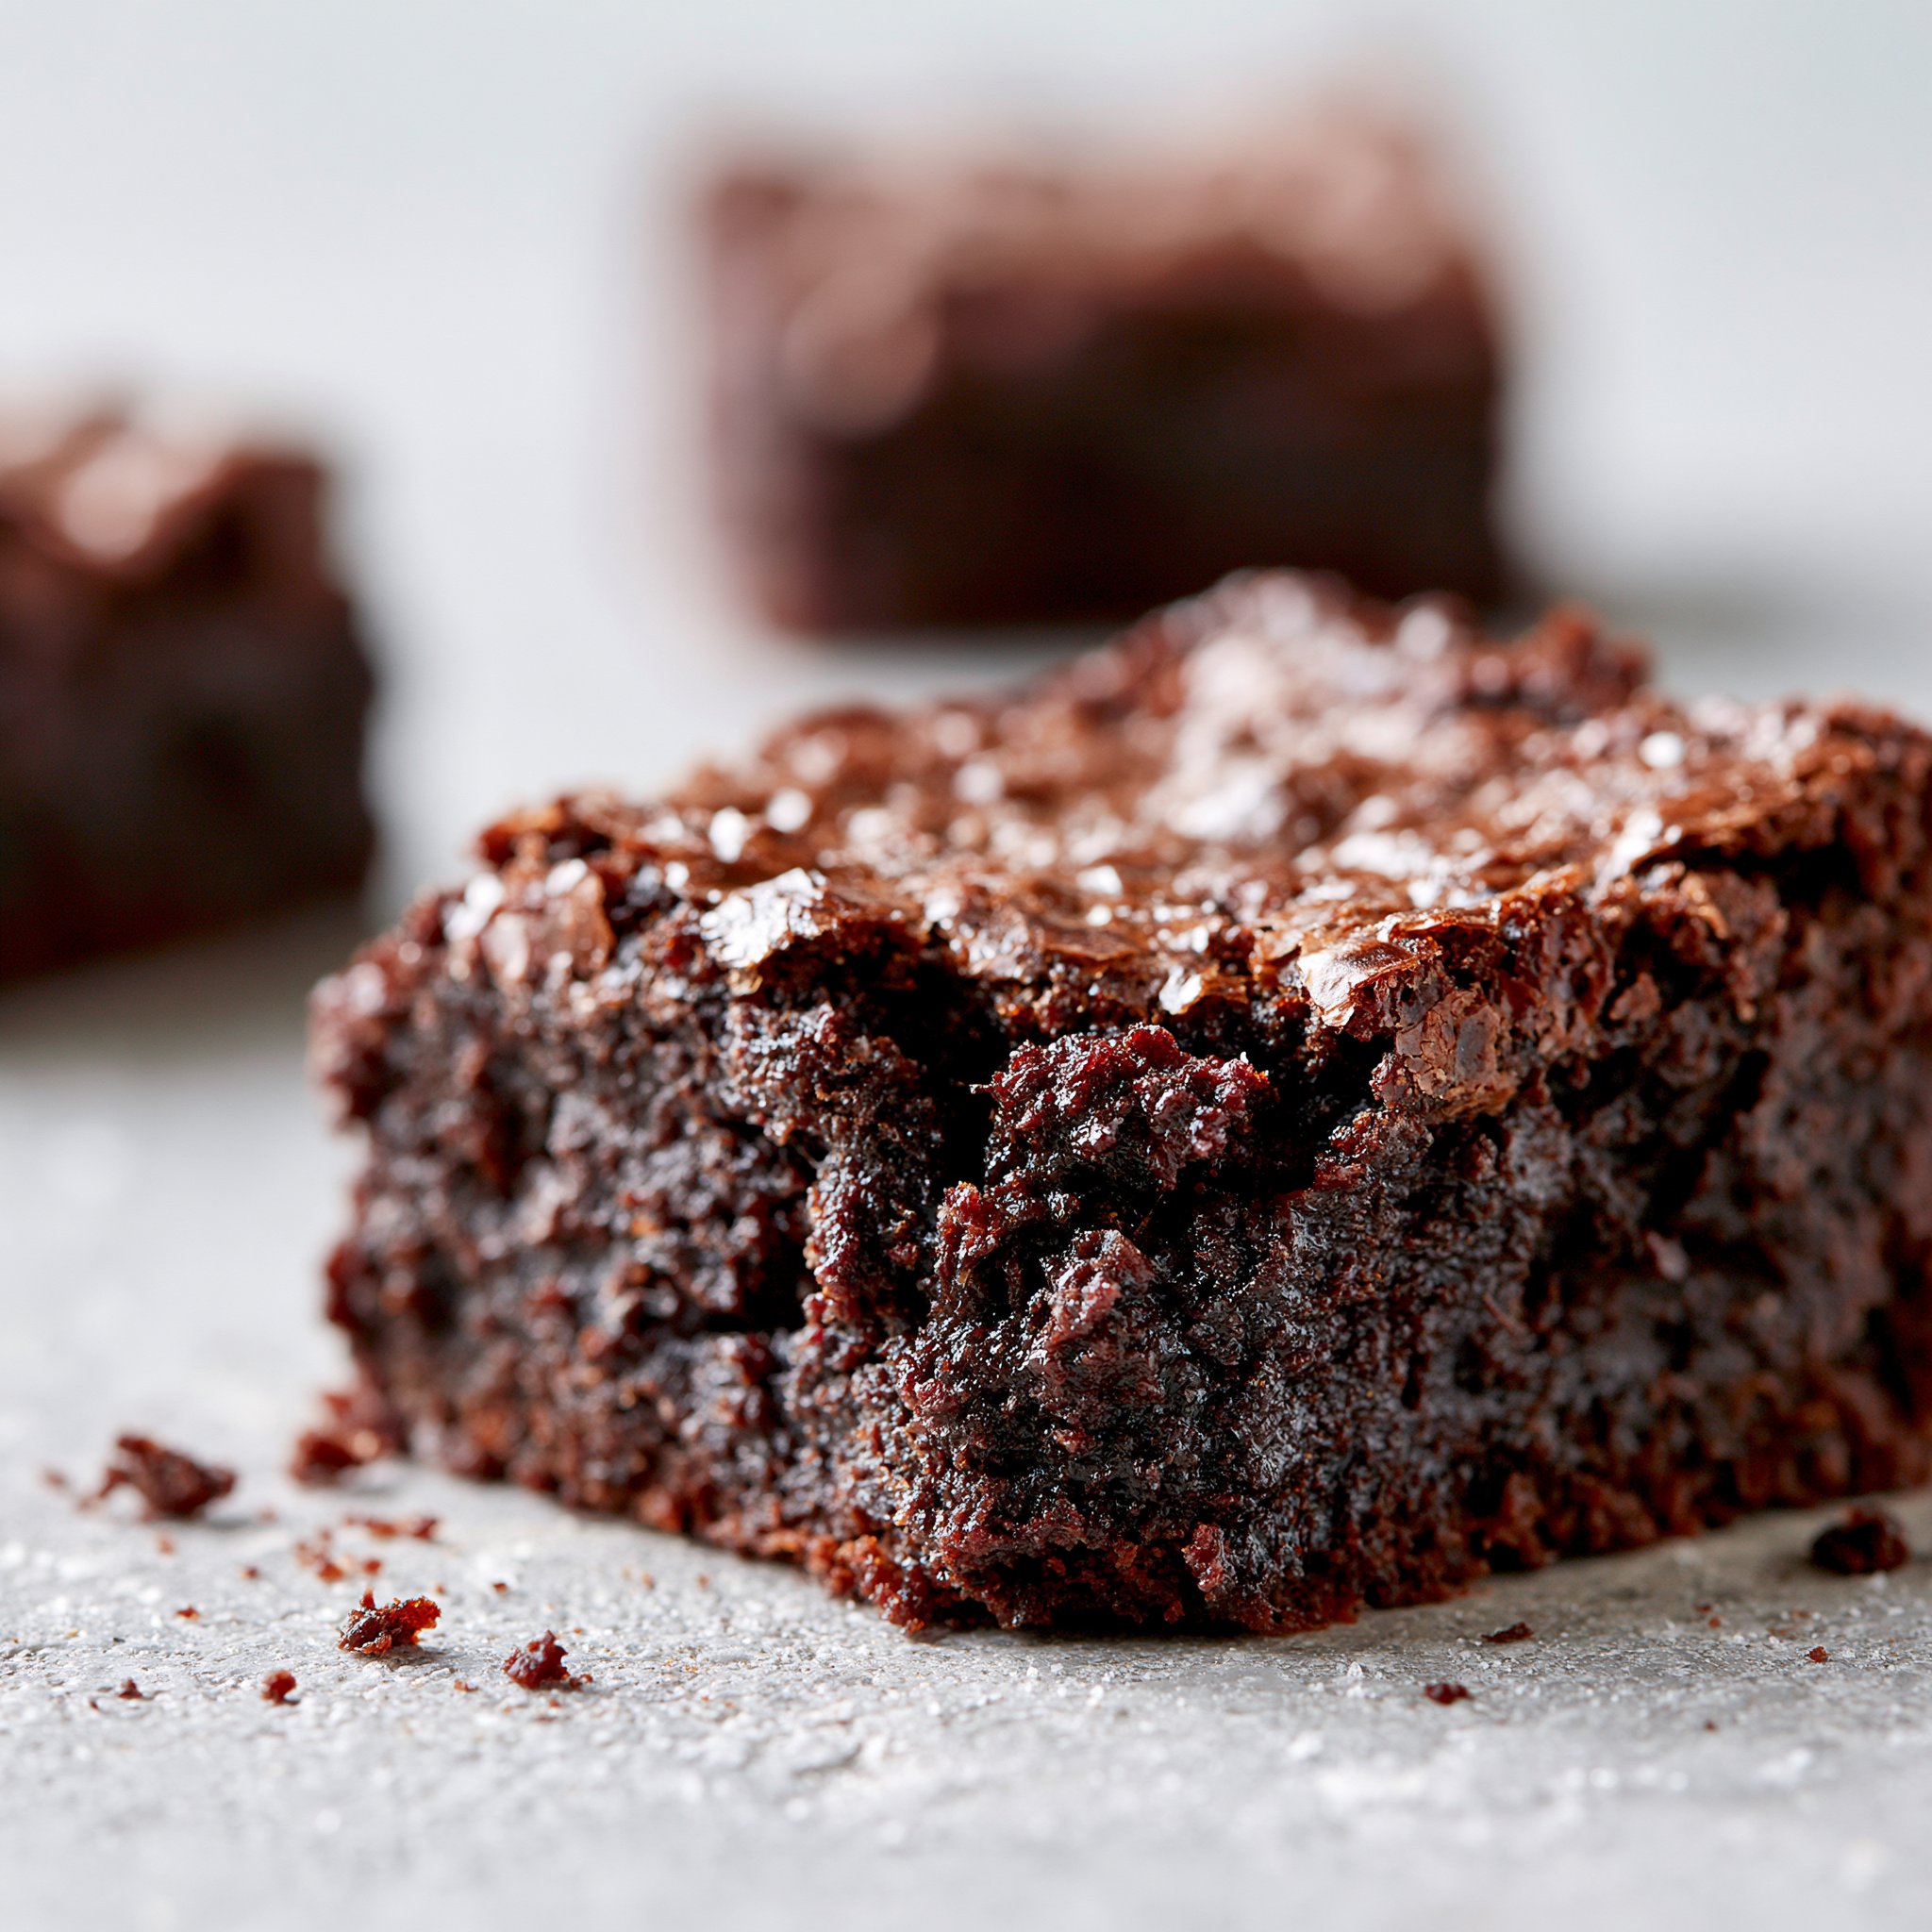
Think bittersweet cocoa aroma, a noticeable vanilla finish, and a brownie bite that’s moist and rich without being heavy—thanks to the cocoa and the egg structure. The edges have a slight snap from the mini tin, and the center stays soft and fudgy as they cool.
Ingredients You’ll Need
This recipe is purposely simple: gluten-free all-purpose flour gives the bites structure, cocoa powder delivers the bold chocolate base, and the two sugars create that classic brownie chew. Melted butter makes them taste like a traditional brownie, while coconut oil works too (you’ll notice a slightly different, milder richness). The key is to mix just until combined so the crumb stays tender.
- 1 cup gluten free all-purpose flour
- 1/2 cup cocoa powder
- 1/2 cup sugar
- 1/2 cup brown sugar
- 1/4 cup melted butter or coconut oil
- 2 large eggs
- 1 tsp vanilla extract
- 1/2 tsp baking powder
- 1/4 tsp salt
How to Make Gluten-Free Mini Brownie Bites
- Heat the oven and prep the pan. Preheat to 350°F (175°C). Grease a miniature muffin tin well so the bites release cleanly (especially around the rims where brownies like to cling).
- Whisk the dry ingredients. In a medium bowl, whisk together the gluten-free flour, cocoa powder, sugar, brown sugar, baking powder, and salt until the color looks evenly cocoa-brown with no obvious streaks.
- Mix the wet ingredients until smooth. In a second bowl, stir together the melted butter (or coconut oil), eggs, and vanilla. You’re looking for a cohesive, glossy mixture with no oily separation.
- Combine wet into dry—gently. Pour the wet mixture into the dry ingredients and stir just until you don’t see dry pockets. The batter will be thick and spoonable; stop mixing as soon as it comes together to keep the bites tender.
- Fill the tin. Spoon the batter into the prepared muffin tin, filling each cup about 3/4 full. Try to keep the portions even so they bake at the same pace.
- Bake. Bake for 12–15 minutes, until the tops look set (no wet sheen) and a toothpick comes out clean. If you bake past that point, they’ll shift from fudgy to more cakey.
- Cool slightly, then remove. Let the bites cool in the tin for a few minutes so they firm up, then gently lift them out. They’re delicate when piping hot but become perfectly poppable as they cool.
Tips for Best Results
- Whisk the dry ingredients thoroughly. Cocoa powder loves to clump; a good whisk means more even chocolate flavor and a smoother bite.
- Use melted (not hot) butter/oil. If it’s too hot, it can seize up when it hits the eggs; let it cool briefly so the wet mixture stays smooth.
- Don’t overmix once combined. Stir just until the flour disappears—overmixing can make gluten-free batters turn dense instead of tender.
- Watch the finish closely at 12 minutes. You want set tops and a clean toothpick; that’s the sweet spot for soft centers in mini size.
- Grease the tin generously. Brownie batter is sticky, and the mini edges can tear if the pan isn’t well coated. For another small-format chocolate treat, my decadent brownie cake pops are great when you want a more party-style dessert.
Variations and Substitutions
- Butter vs. coconut oil: Both work; butter gives a more classic brownie flavor, while coconut oil makes the bites a touch softer with a slightly different richness.
- Baking time tweak: If you prefer a firmer, more cake-like bite, bake closer to 15 minutes; for a softer center, start checking right at 12.
- Make them slightly less sweet (subtle change): You can reduce either sugar a little, but expect a less chewy texture since the sugars help with moisture and bite.
How to Serve It
Serve these slightly warm when the cocoa aroma is strongest, or at room temp when the centers feel extra fudgy. I like them on a platter with coffee or black tea, since the cocoa and brown sugar read deeper with something bitter alongside. If you’re building a little “bites” spread, balance sweet with something savory—my garlic steak bites and potatoes are a hearty counterpoint.
How to Store It
Store brownie bites in an airtight container at room temperature for a couple of days so they stay soft. For longer keeping, refrigerate them (they’ll firm up slightly—still good), and let them sit out for a bit before serving so the texture relaxes. You can also freeze them in a tightly sealed container; thaw at room temperature until the centers are no longer cold and dense.

Final Thoughts
These gluten-free mini brownie bites are the kind of small bake that pays off fast: thick batter, quick oven time, and that unmistakable cocoa-and-vanilla brownie smell filling the kitchen. If you’re planning a full menu, I often pair a cozy dessert moment with something creamy for dinner like Tuscan spinach steak bites tortellini or the alternate version of my creamy Tuscan tortellini skillet depending on what I have on hand.
Conclusion
If you want to compare a few other gluten-free brownie bite approaches, these recipes are worth a look: Gluten Free Brownie Bites from Eat With Clarity, Two Bite Brownies from Gluten Free on a Shoestring, and gluten-free brownie bites from Something Nutritious.
Gluten-Free Mini Brownie Bites
Ingredients
Method
- Preheat the oven to 350°F (175°C) and grease a miniature muffin tin well.
- In a medium bowl, whisk together the gluten-free flour, cocoa powder, sugar, brown sugar, baking powder, and salt until combined.
- In a second bowl, stir together the melted butter (or coconut oil), eggs, and vanilla until smooth.
- Pour the wet mixture into the dry ingredients and stir just until combined to keep the bites tender.
- Spoon the batter into the mini muffin tin, filling each cup about 3/4 full.
- Bake for 12-15 minutes, until the tops look set and a toothpick comes out clean.
- Let the bites cool in the tin for a few minutes before gently lifting them out.