
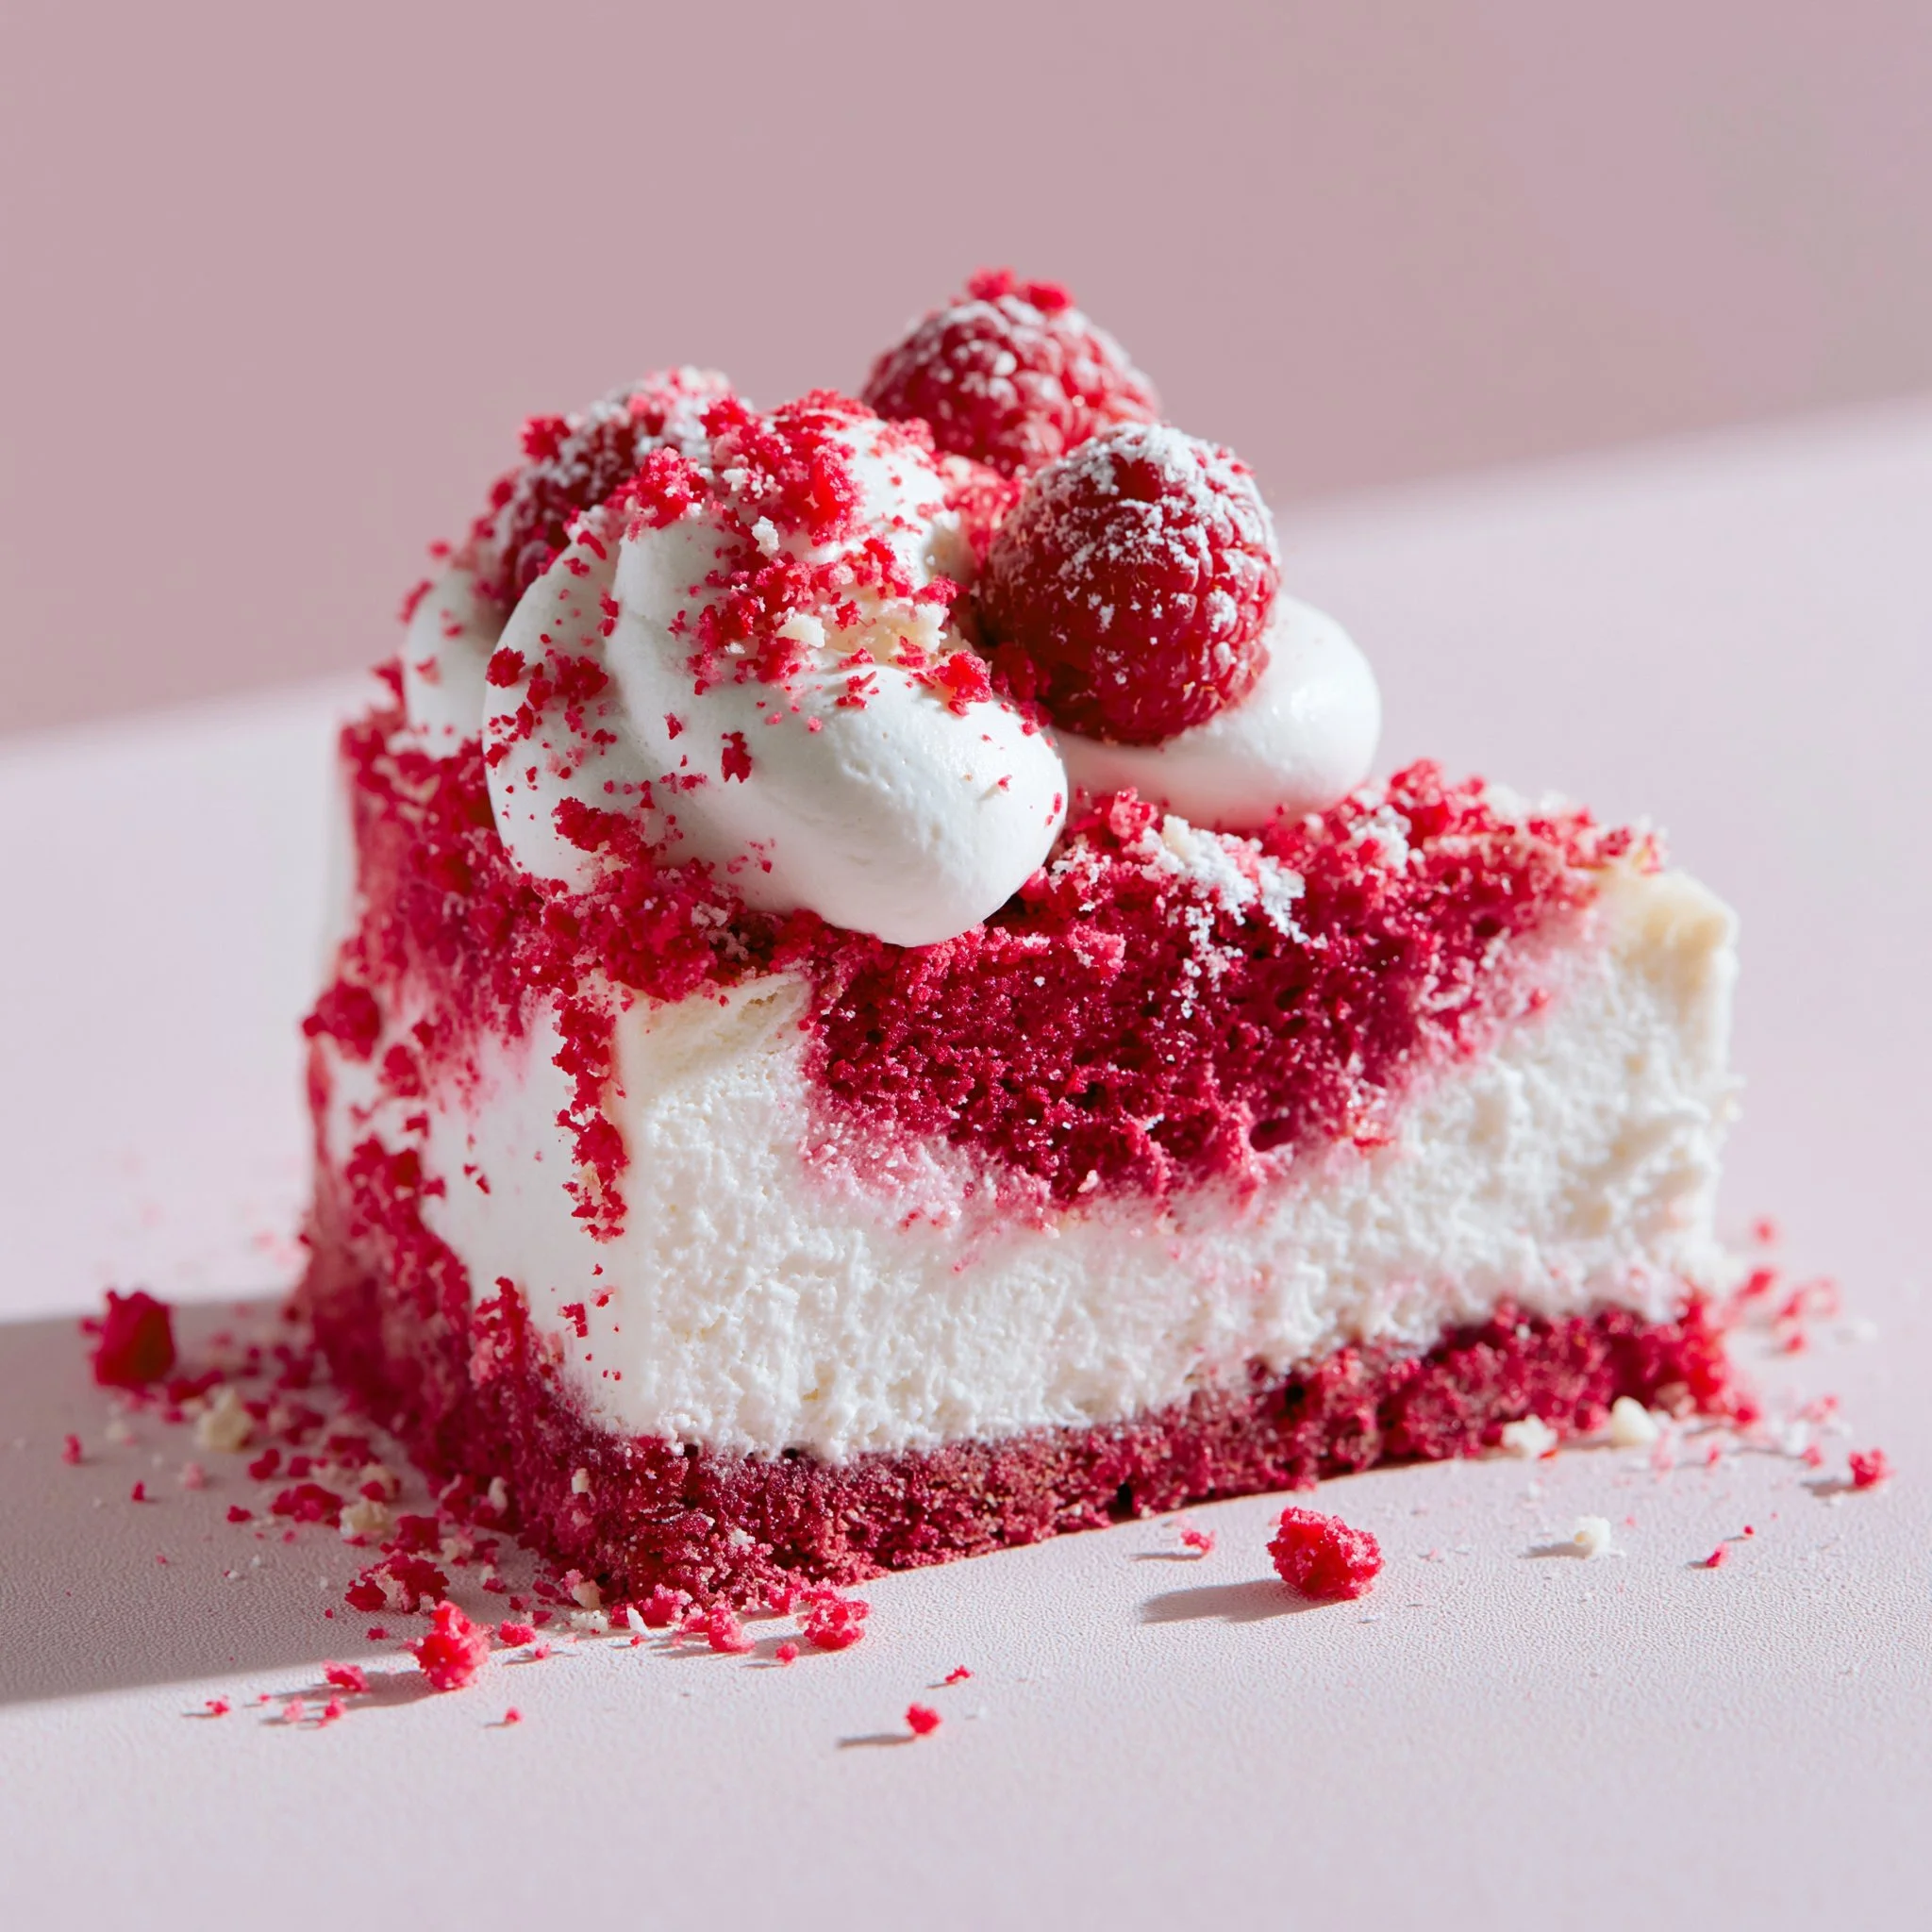
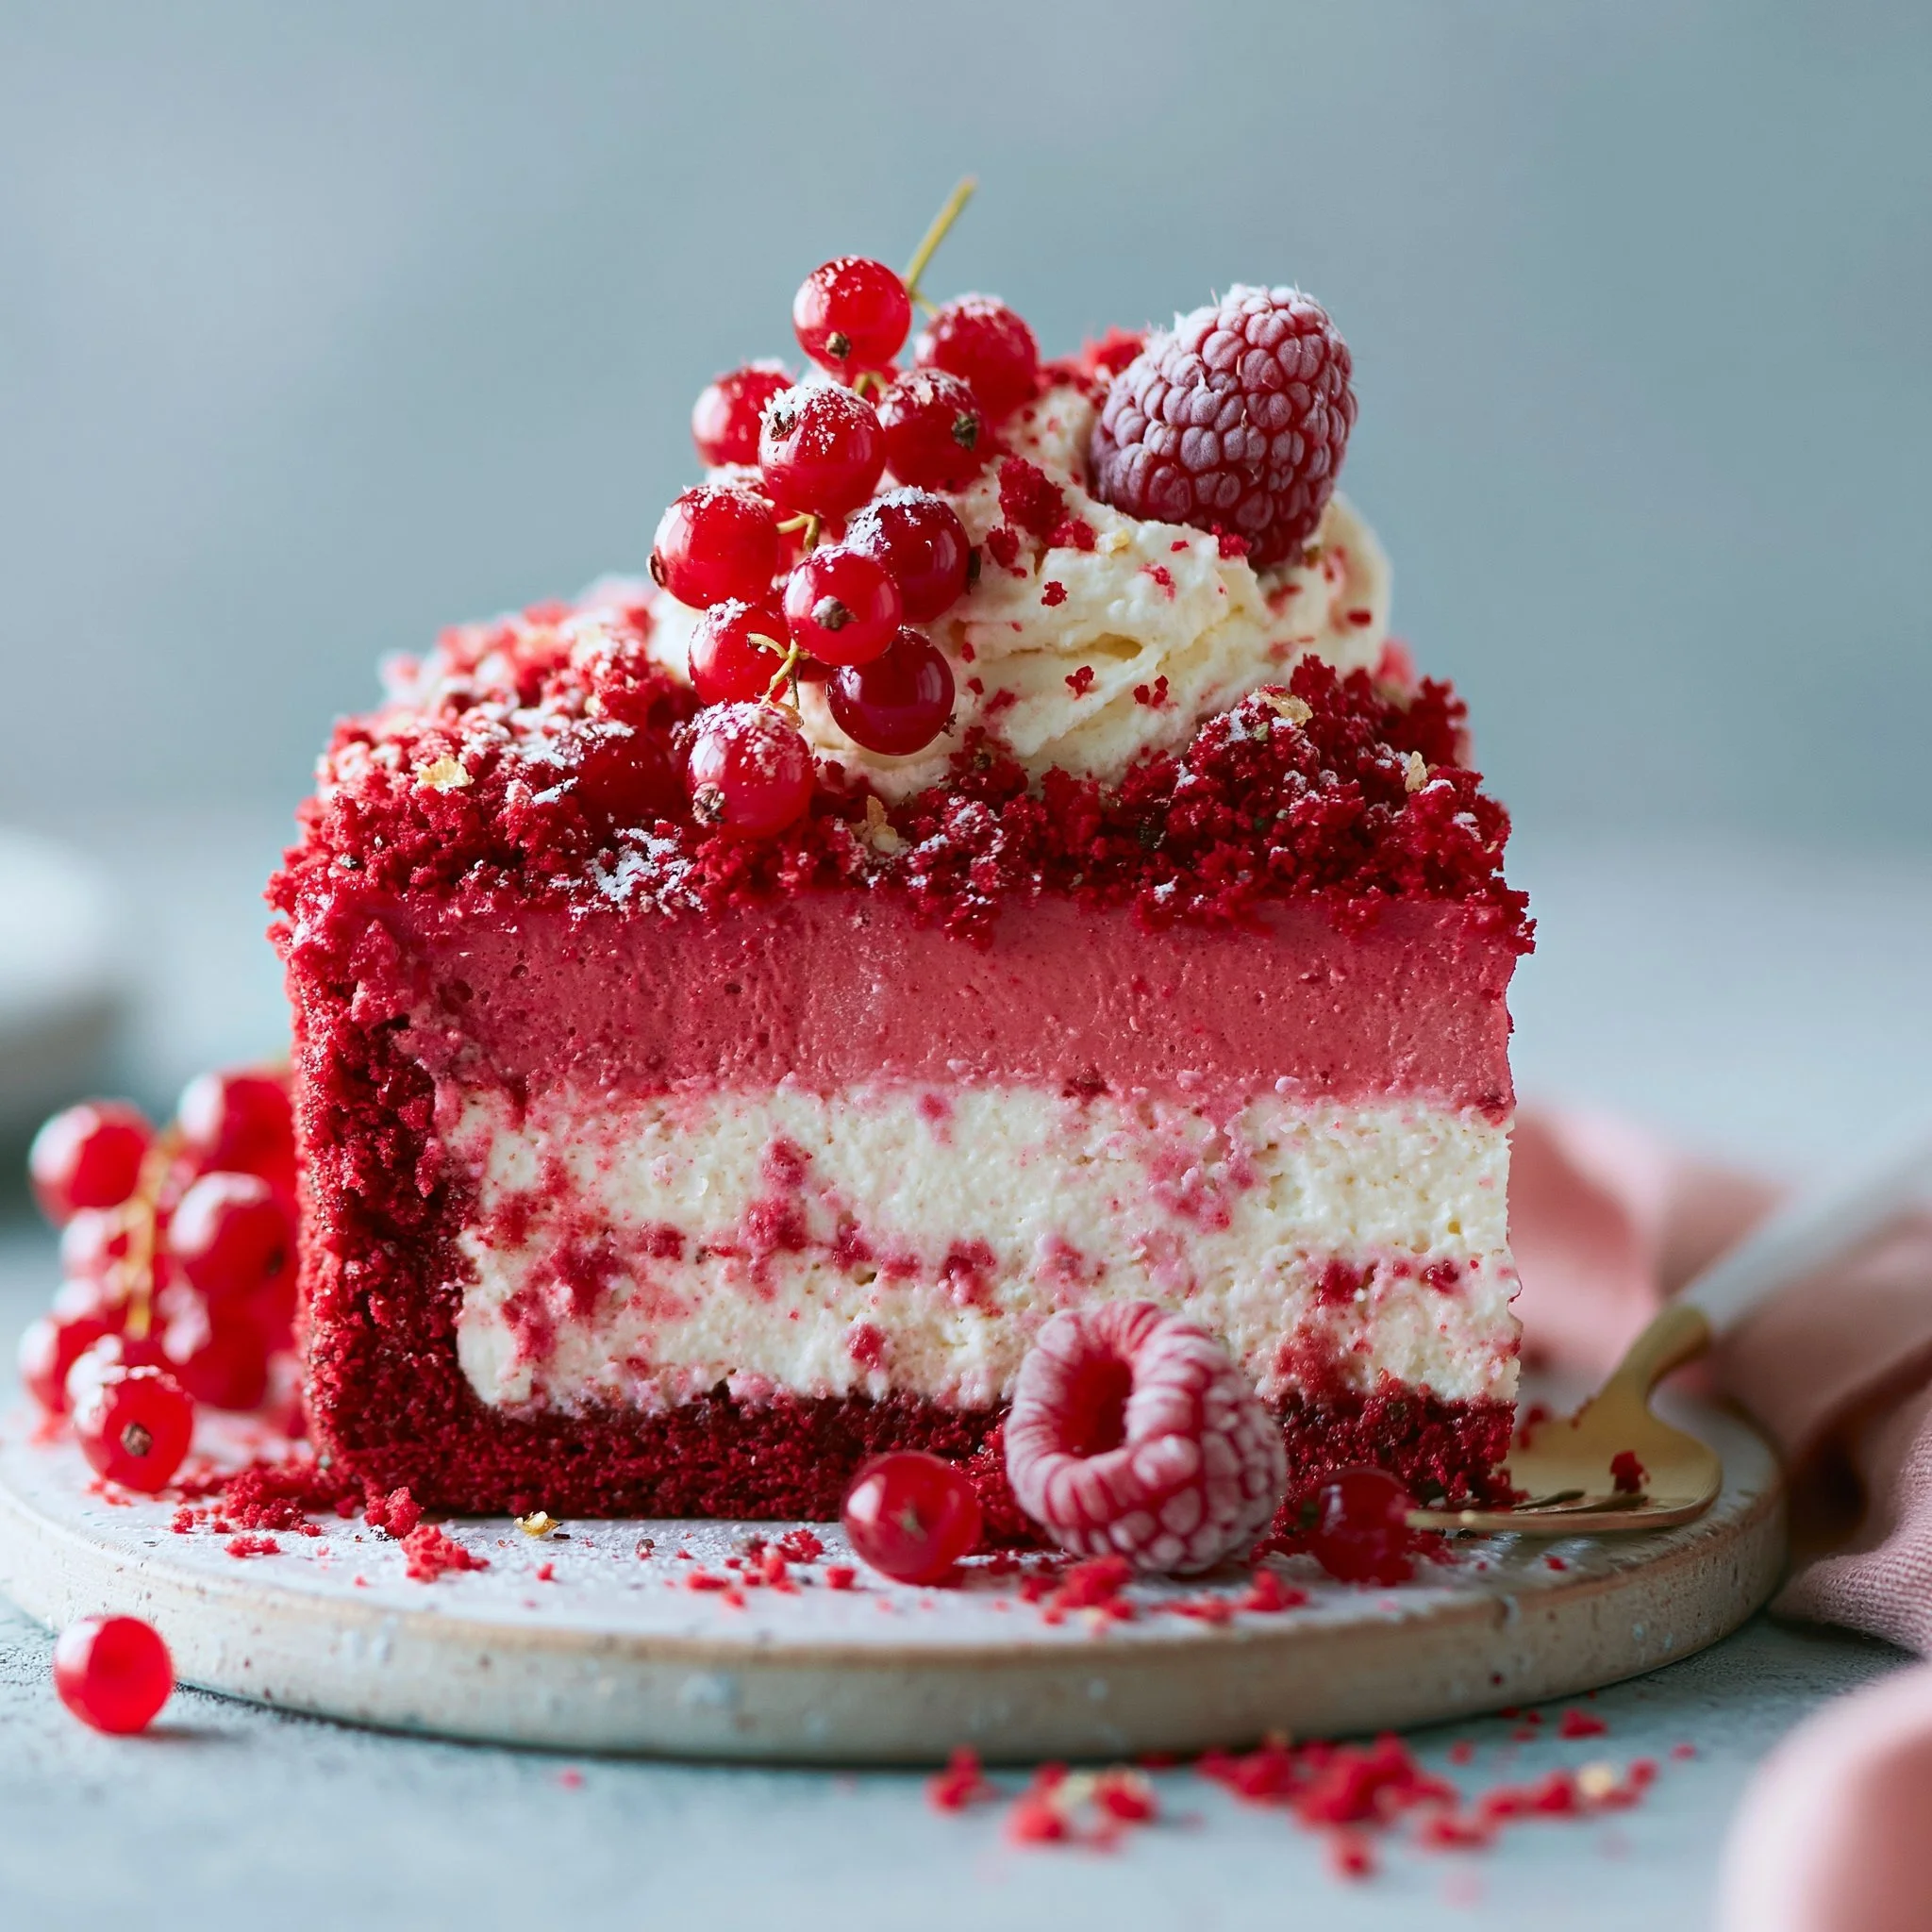
A red velvet cake base plus a silky cheesecake layer is already a strong argument—but this one goes a step further with a cloud of vanilla whipped cream on top, so every slice lands creamy, tender, and just sweet enough. The red velvet stays plush under the cheesecake, and the chill time makes the whole thing cut cleanly without losing that soft, bakery-style feel.
If you’ve made my Knock You Naked Red Velvet Cheesecake before, you know the “wow” is in the layers: cake, tangy cheesecake, then a light whipped topping that melts on your tongue.
Why You’ll Love This Recipe
- The red velvet cake base bakes up tender and holds its shape under the cheesecake layer (no crumbly collapse).
- The cheesecake is rich but balanced—sour cream adds a gentle tang that keeps it from tasting flat.
- Baking the cheesecake at 325°F helps it set with a smooth, creamy texture and only a slight jiggle in the center.
- The whipped cream topping is lightly sweetened, so it doesn’t overpower the vanilla and cocoa notes in the red velvet.
- It’s a true make-ahead dessert: chilling for 4 hours gives you neat slices and the best texture.
- Optional red velvet crumbs on top make it look bakery-finished with almost no extra work.
The Story Behind This Recipe
I wanted a red velvet dessert that felt a little more “slice and swoon” than a pan of bars, but still practical—starting with a cake mix keeps the base easy, and the cheesecake layer brings that classic cream cheese tang that plays so well with red velvet.
What It Tastes Like
You’ll get a soft, mildly cocoa-scented red velvet bite first, followed by a dense-but-creamy cheesecake layer that tastes like vanilla and tangy cream cheese, with a cool, airy whipped cream finish. The contrast is the whole point: plush cake, smooth cheesecake, and that light topping that keeps each forkful from feeling heavy.
Ingredients You’ll Need
This recipe is built on a baked red velvet cake layer (from a boxed mix) topped with a classic cream cheese cheesecake made extra smooth with sour cream, a touch of flour for structure, and vanilla for warmth. The whipped cream topping is simply heavy cream, powdered sugar, and vanilla—keep an eye on it as you whip so it stays soft and billowy, not stiff or grainy.
- 1 box red velvet cake mix (plus eggs, oil, and water as directed)
- 16 oz cream cheese, softened
- ⅔ cup granulated sugar
- 2 large eggs
- ⅓ cup sour cream
- 1 tbsp all-purpose flour
- 1 tsp vanilla extract
- ¼ tsp salt
- 2 cups heavy whipping cream
- 4 tbsp powdered sugar
- 2 tsp vanilla extract
- Optional: red velvet cake crumbs for garnish
How to Make Knock You Naked Red Velvet Cheesecake
- Heat the oven and prep the pan. Preheat to 350°F (175°C) and grease a 9-inch springform pan. (This dessert is tall and layered—springform makes serving doable.)
- Bake the red velvet base. Mix the red velvet cake batter according to the box directions and pour it into the prepared pan. Bake 30–32 minutes, until the top springs back lightly and a toothpick comes out clean.
- Cool completely, then chill. Let the cake cool all the way to room temperature. Once it’s no longer warm, refrigerate it while you make the cheesecake batter—starting with a chilled base helps keep the layers distinct.
- Lower the oven temp. Reduce the oven to 325°F (163°C).
- Mix the cheesecake batter until smooth. Beat the softened cream cheese with the sugar until creamy and lump-free. Add the eggs one at a time, mixing just until each disappears into the batter (overmixing can lead to cracking and a puffed center).
- Finish the batter. Mix in the sour cream, flour, vanilla, and salt. The batter should look thick, glossy, and smooth—no visible cream cheese specks.
- Line the pan sides and add the cheesecake layer. Line the inside sides of the springform pan with parchment paper. Pour the cheesecake batter over the chilled cake base and smooth the top.
- Bake until set with a slight jiggle. Bake 55–60 minutes. You’re looking for edges that look set and a center that still has a gentle wobble when you nudge the pan.
- Cool, then chill to fully set. Cool at room temperature, then refrigerate for 4 hours. The cheesecake should feel firm and sliceable when fully chilled.
- Make the whipped topping. Whip the heavy cream with powdered sugar and vanilla until soft peaks form (pillowy peaks that droop slightly). Spread or pipe it over the chilled cheesecake.
- Garnish and serve. Sprinkle with optional red velvet cake crumbs, slice, and serve cold for the cleanest layers.
Tips for Best Results
- Soften the cream cheese fully. If it’s even slightly cold, you’ll fight lumps—and those lumps don’t bake out.
- Mix eggs gently and briefly. Once eggs go in, mix just until combined; it helps keep the cheesecake creamy instead of puffed or cracked.
- Use the “slight jiggle” test. If the center sloshes, it’s underbaked; if it’s totally stiff in the oven, it’s likely overbaked and can turn drier after chilling.
- Chill the cake layer before pouring cheesecake. A cold base makes it easier to pour an even layer without disturbing the cake.
- Stop whipping at soft peaks. This topping should feel light and smooth; overwhipped cream looks grainy and spreads less nicely.
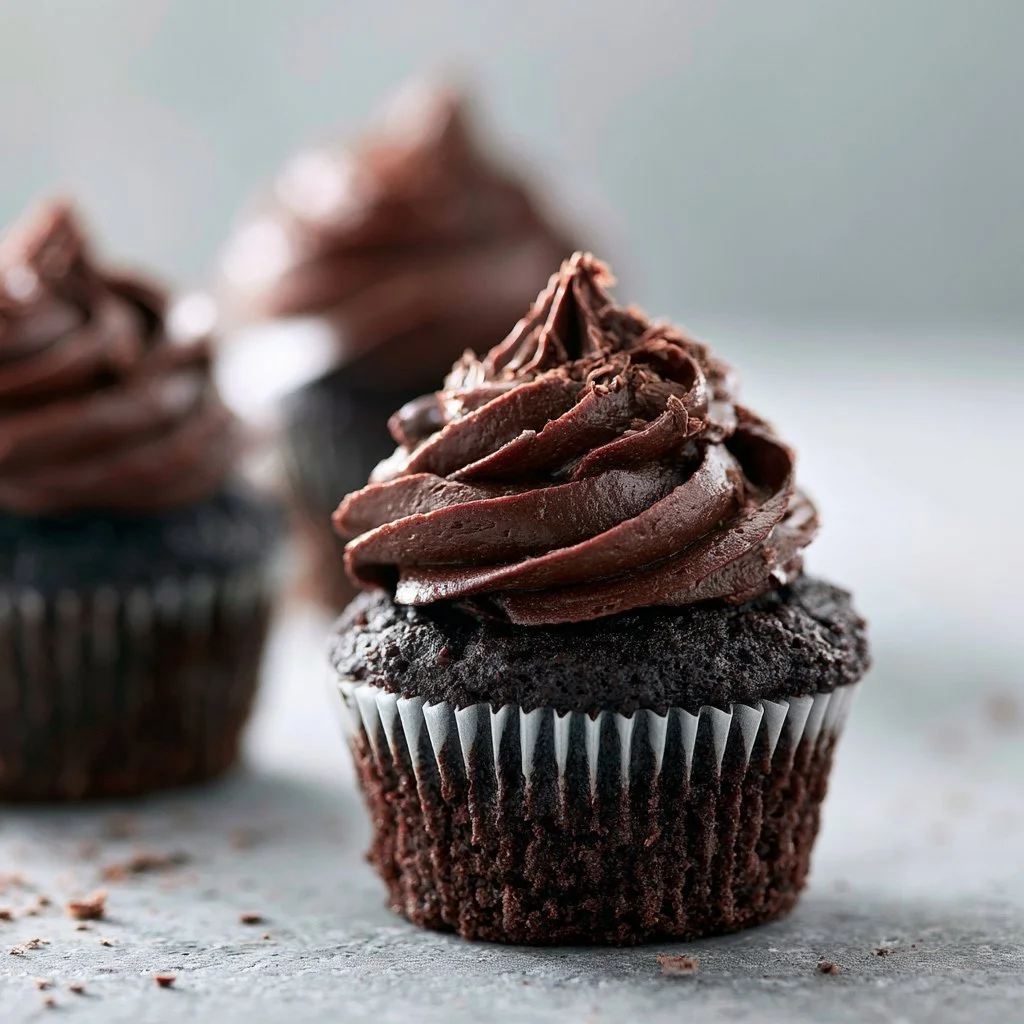
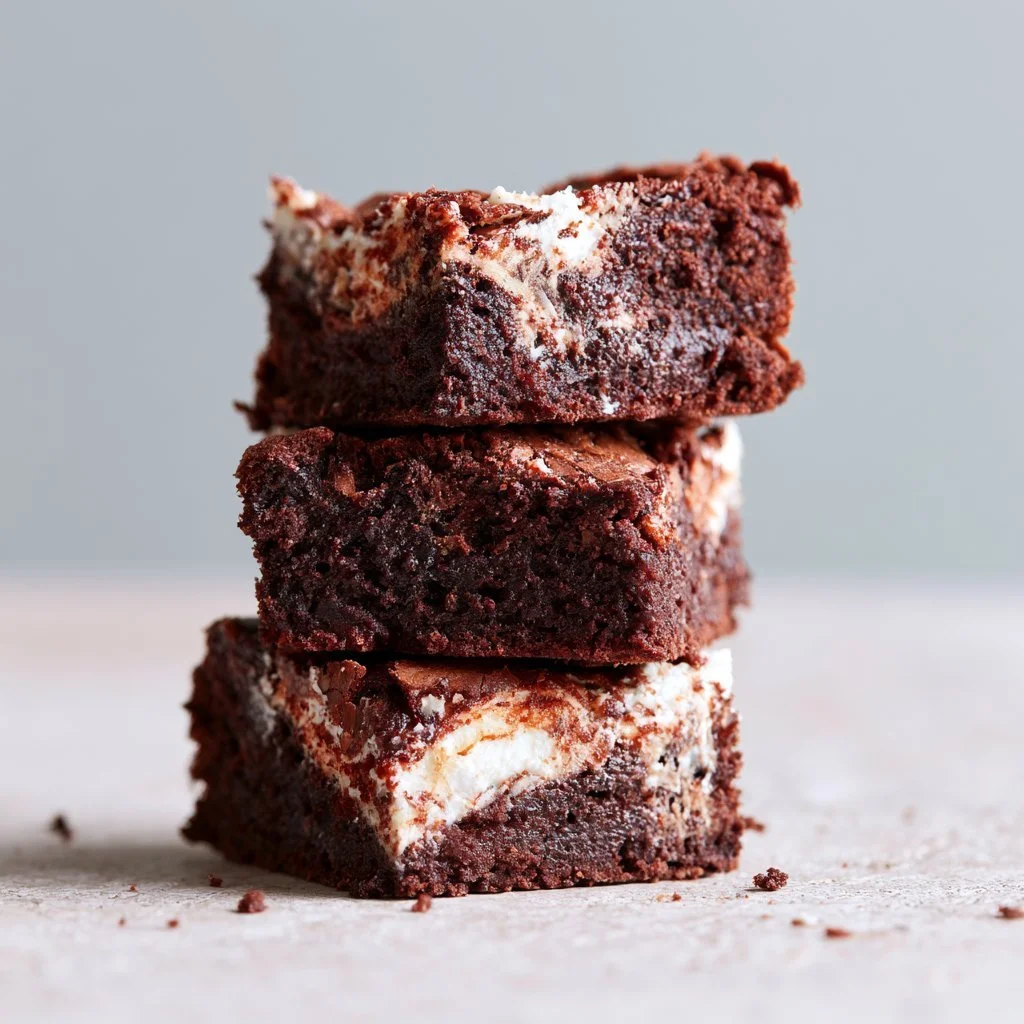
- For another red velvet option that’s more of a handheld bake, my fudgy red velvet brownies are a great backup plan when you want quicker slicing.
Variations and Substitutions
- Skip the crumb garnish. The whipped cream topping is pretty on its own; the crumbs just add color and a gentle cake-y finish.
- Pipe instead of spread. You can spread the whipped cream for a rustic look, or pipe it for cleaner edges—either way, keep it chilled until serving.
- If you love the cake-and-cream cheese combo but want individual portions, try my red velvet cake minis on a different day.
How to Serve It
Serve it cold—that’s when the cheesecake layer is at its smoothest and the slices look the sharpest. I like cutting with a long knife and wiping the blade between cuts so the whipped topping stays neat. If you’re building a dessert spread, add something lighter alongside it (even breakfast-for-dessert vibes work, like banana oatmeal pancakes the next morning with leftover whipped cream).
How to Store It
Keep the cheesecake covered in the refrigerator. It’s at its best after it has fully chilled and set, and it stays sliceable and creamy for days when stored cold. If you’re making it ahead, you can bake and chill the cheesecake first, then add the whipped cream topping closer to serving so it stays fluffy and fresh-looking. If you’re into desserts with a similar creamy “surprise” factor, my cheesecake-stuffed chocolate chip cookies are another fun make-ahead treat.
Final Thoughts
This is the kind of dessert that looks dramatic in the pan but is genuinely straightforward once you focus on the cues: cool the cake fully, bake the cheesecake until the center only gently jiggles, and give it that full chill so every slice shows off those bold red velvet and creamy white layers.
Conclusion
If you want to compare a couple of similar takes before you bake, you can check out another knock-you-naked red velvet cheesecake version, this red velvet cheesecake recipe for a different approach, or these knock-you-naked brownies if you’re craving the same rich vibe in bar form.

Knock You Naked Red Velvet Cheesecake
Ingredients
Method
- Preheat the oven to 350°F (175°C) and grease a 9-inch springform pan.
- Mix the red velvet cake batter according to the box directions and pour it into the prepared pan. Bake for 30–32 minutes, until the top springs back lightly and a toothpick comes out clean.
- Let the cake cool completely at room temperature.
- Refrigerate the cooled cake while you prepare the cheesecake batter.
- Lower the oven temperature to 325°F (163°C).
- Beat the softened cream cheese with the sugar until creamy and lump-free.
- Add eggs one at a time, mixing just until combined.
- Mix in sour cream, flour, vanilla, and salt until smooth.
- Line the sides of the springform pan with parchment paper and pour the cheesecake batter over the chilled cake base.
- Bake for 55–60 minutes until the edges are set but the center has a slight jiggle.
- Cool at room temperature, then refrigerate for 4 hours.
- Whip the heavy cream with powdered sugar and vanilla until soft peaks form.
- Spread or pipe the whipped cream over the chilled cheesecake.
- Garnish with optional red velvet cake crumbs.