
There’s something deeply satisfying about a chocolate mousse that turns out truly silky—glossy, spoonable, and light enough to feel airy, but still unmistakably rich. This one hits that sweet spot with dark chocolate front and center, softened by billowy whipped cream and a pale, fluffy egg-and-sugar base.
It’s also the kind of dessert that looks quietly fancy in a glass, even though the method is straightforward: melt, whip, beat, fold, chill. If you like a make-ahead treat that sets into a soft cloud with a deep cocoa aroma, you’ll want this in your fridge. (If you’re planning a cozy menu, I often pair it after something brunchy from baked cottage cheese eggs—sweet after savory is the move.)
Why You’ll Love This Recipe
- Silky, spoon-smooth texture thanks to folding cooled melted dark chocolate into a light egg-and-sugar mixture, then finishing with soft-peaked cream.
- Deep chocolate flavor without being bitter—dark chocolate gives you intensity, while sugar rounds the edges so it tastes balanced, not harsh.
- No baking, no complicated steps—the “work” is just three components and a gentle fold.
- Make-ahead friendly: a couple hours in the fridge turns it from loose and airy to perfectly set and mousse-like.
- Pretty presentation with zero effort: spoon it into small glasses or bowls and you’ve got instant dessert-bar vibes.
- Comforting but not heavy: it eats like a chocolate cloud—rich, yes, but not dense or fudgey.
The Story Behind This Recipe
I started making this style of mousse when I wanted a dessert that felt special but didn’t require turning on the oven—just dark chocolate, cream, eggs, and sugar doing what they do best. The key is letting the melted chocolate cool until it’s still fluid (think warm syrup, not hot), so it folds in smoothly instead of tightening up and turning grainy.
What It Tastes Like
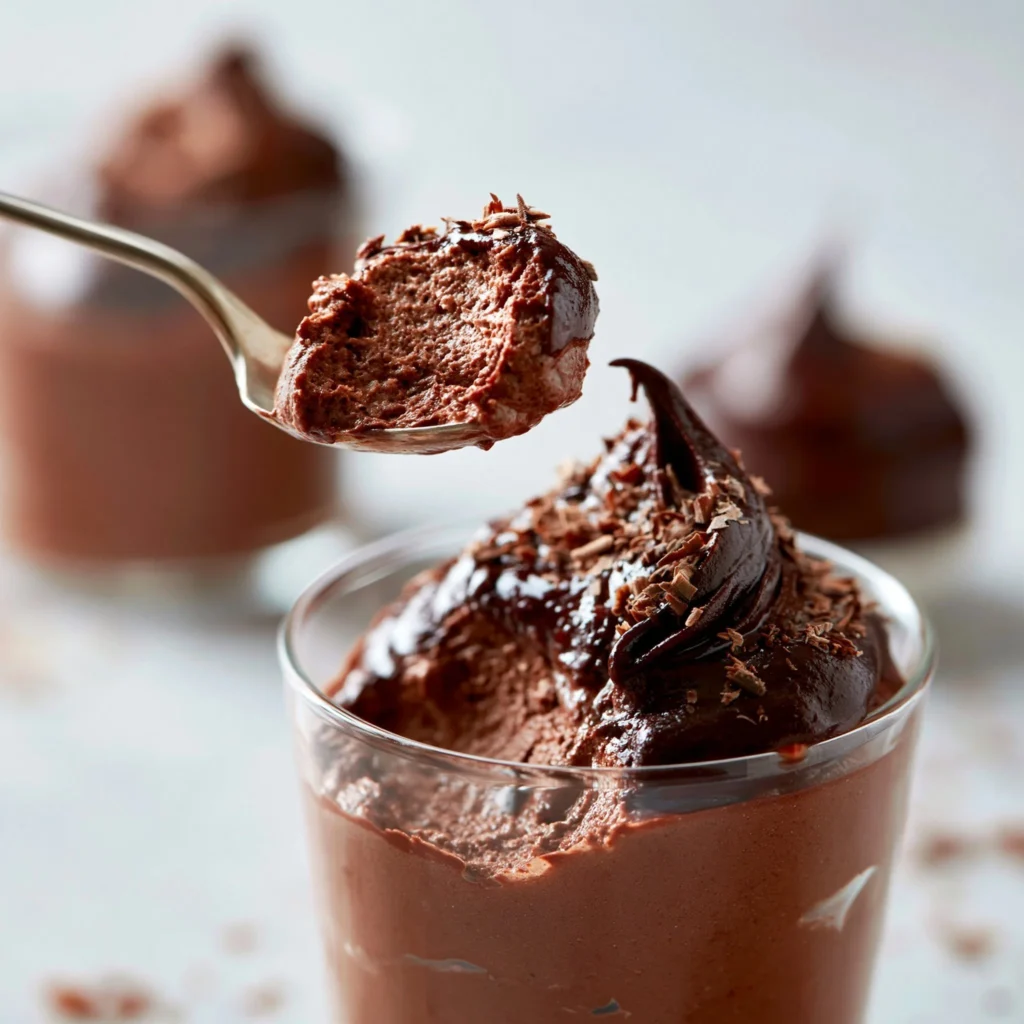
It tastes like pure, clean chocolate: dark and aromatic at first, then mellowed by the whipped cream into something creamy and rounded. The sweetness is present but not loud, and the texture is the real star—airy on the spoon, then meltingly smooth on your tongue with no icy chill or stiff, pudding-like feel once it’s set.
Ingredients You’ll Need
This recipe is all about using each ingredient at the right moment. Dark chocolate gives the mousse its backbone and that glossy cocoa depth. Heavy cream is what makes it feel luxurious and light at the same time (whipped to soft peaks so it folds in without turning grainy). Eggs beaten with sugar create a pale, fluffy base that helps the mousse set up softly in the fridge. For more bright, approachable recipes built around simple ingredients, you can browse the Citrus and Crave blog.
- Dark chocolate
- Heavy cream
- Eggs
- Sugar
How to Make Silky Smooth Chocolate Mousse
-
Melt the dark chocolate, then cool it slightly.
Melt until fully smooth and glossy, then let it sit for a few minutes. You want it fluid and pourable, but not hot—if it’s too warm, it can deflate the egg mixture or make the texture seize up later. -
Whip the heavy cream to soft peaks.
Whip until the cream holds gentle, droopy peaks that slump over when you lift the whisk. It should look thickened and airy, not stiff or crumbly. Set it aside while you prep the eggs. -
Beat the eggs and sugar until light and fluffy.
Keep going until the mixture looks paler in color and noticeably increased in volume—it should fall in thick ribbons rather than run like raw egg. -
Fold the cooled chocolate into the egg mixture.
Add the chocolate and fold gently until the color is even and there are no dark streaks. The mixture should look smooth and satiny. -
Fold in the whipped cream—gently.
Add the whipped cream and fold until you don’t see white streaks. Stop as soon as it’s uniform; over-folding can knock out the air you worked to build. -
Spoon into serving dishes and chill until set.
Divide into cups or bowls, then refrigerate for at least 2 hours. It’s ready when the mousse is set but still soft—it should hold a spoon mark and feel plush, not firm like a custard.
Tips for Best Results
- Cool the chocolate before folding. If it’s hot to the touch, it can tighten on contact and make little chocolate bits instead of a smooth base.
- Aim for soft peaks, not stiff. Stiffly whipped cream is harder to fold in and can leave the mousse looking slightly grainy instead of silky.
- Use a gentle folding motion. You’re preserving the air from the beaten eggs and whipped cream—fold until just combined, then stop.
- Watch for visual “doneness.” After chilling, the surface should look matte-satin (not liquid-glossy), and a spoon should leave a clean swoop.
- Chill the serving dishes if you want extra clean presentation. A cold dish helps the mousse start setting right away as you portion it.
Variations and Substitutions
- Chocolate intensity: Use a darker dark chocolate for a more intense cocoa edge, or a slightly sweeter dark chocolate for a softer, more dessert-forward profile—the texture stays similar.
- Serving size: Portion into small cups for an elegant feel or larger bowls for a more comforting, spoon-and-sigh dessert moment. (When I’m doing a snacky dessert spread, I’ll balance it with something crisp like crispy air fryer apple fries.)
How to Serve It
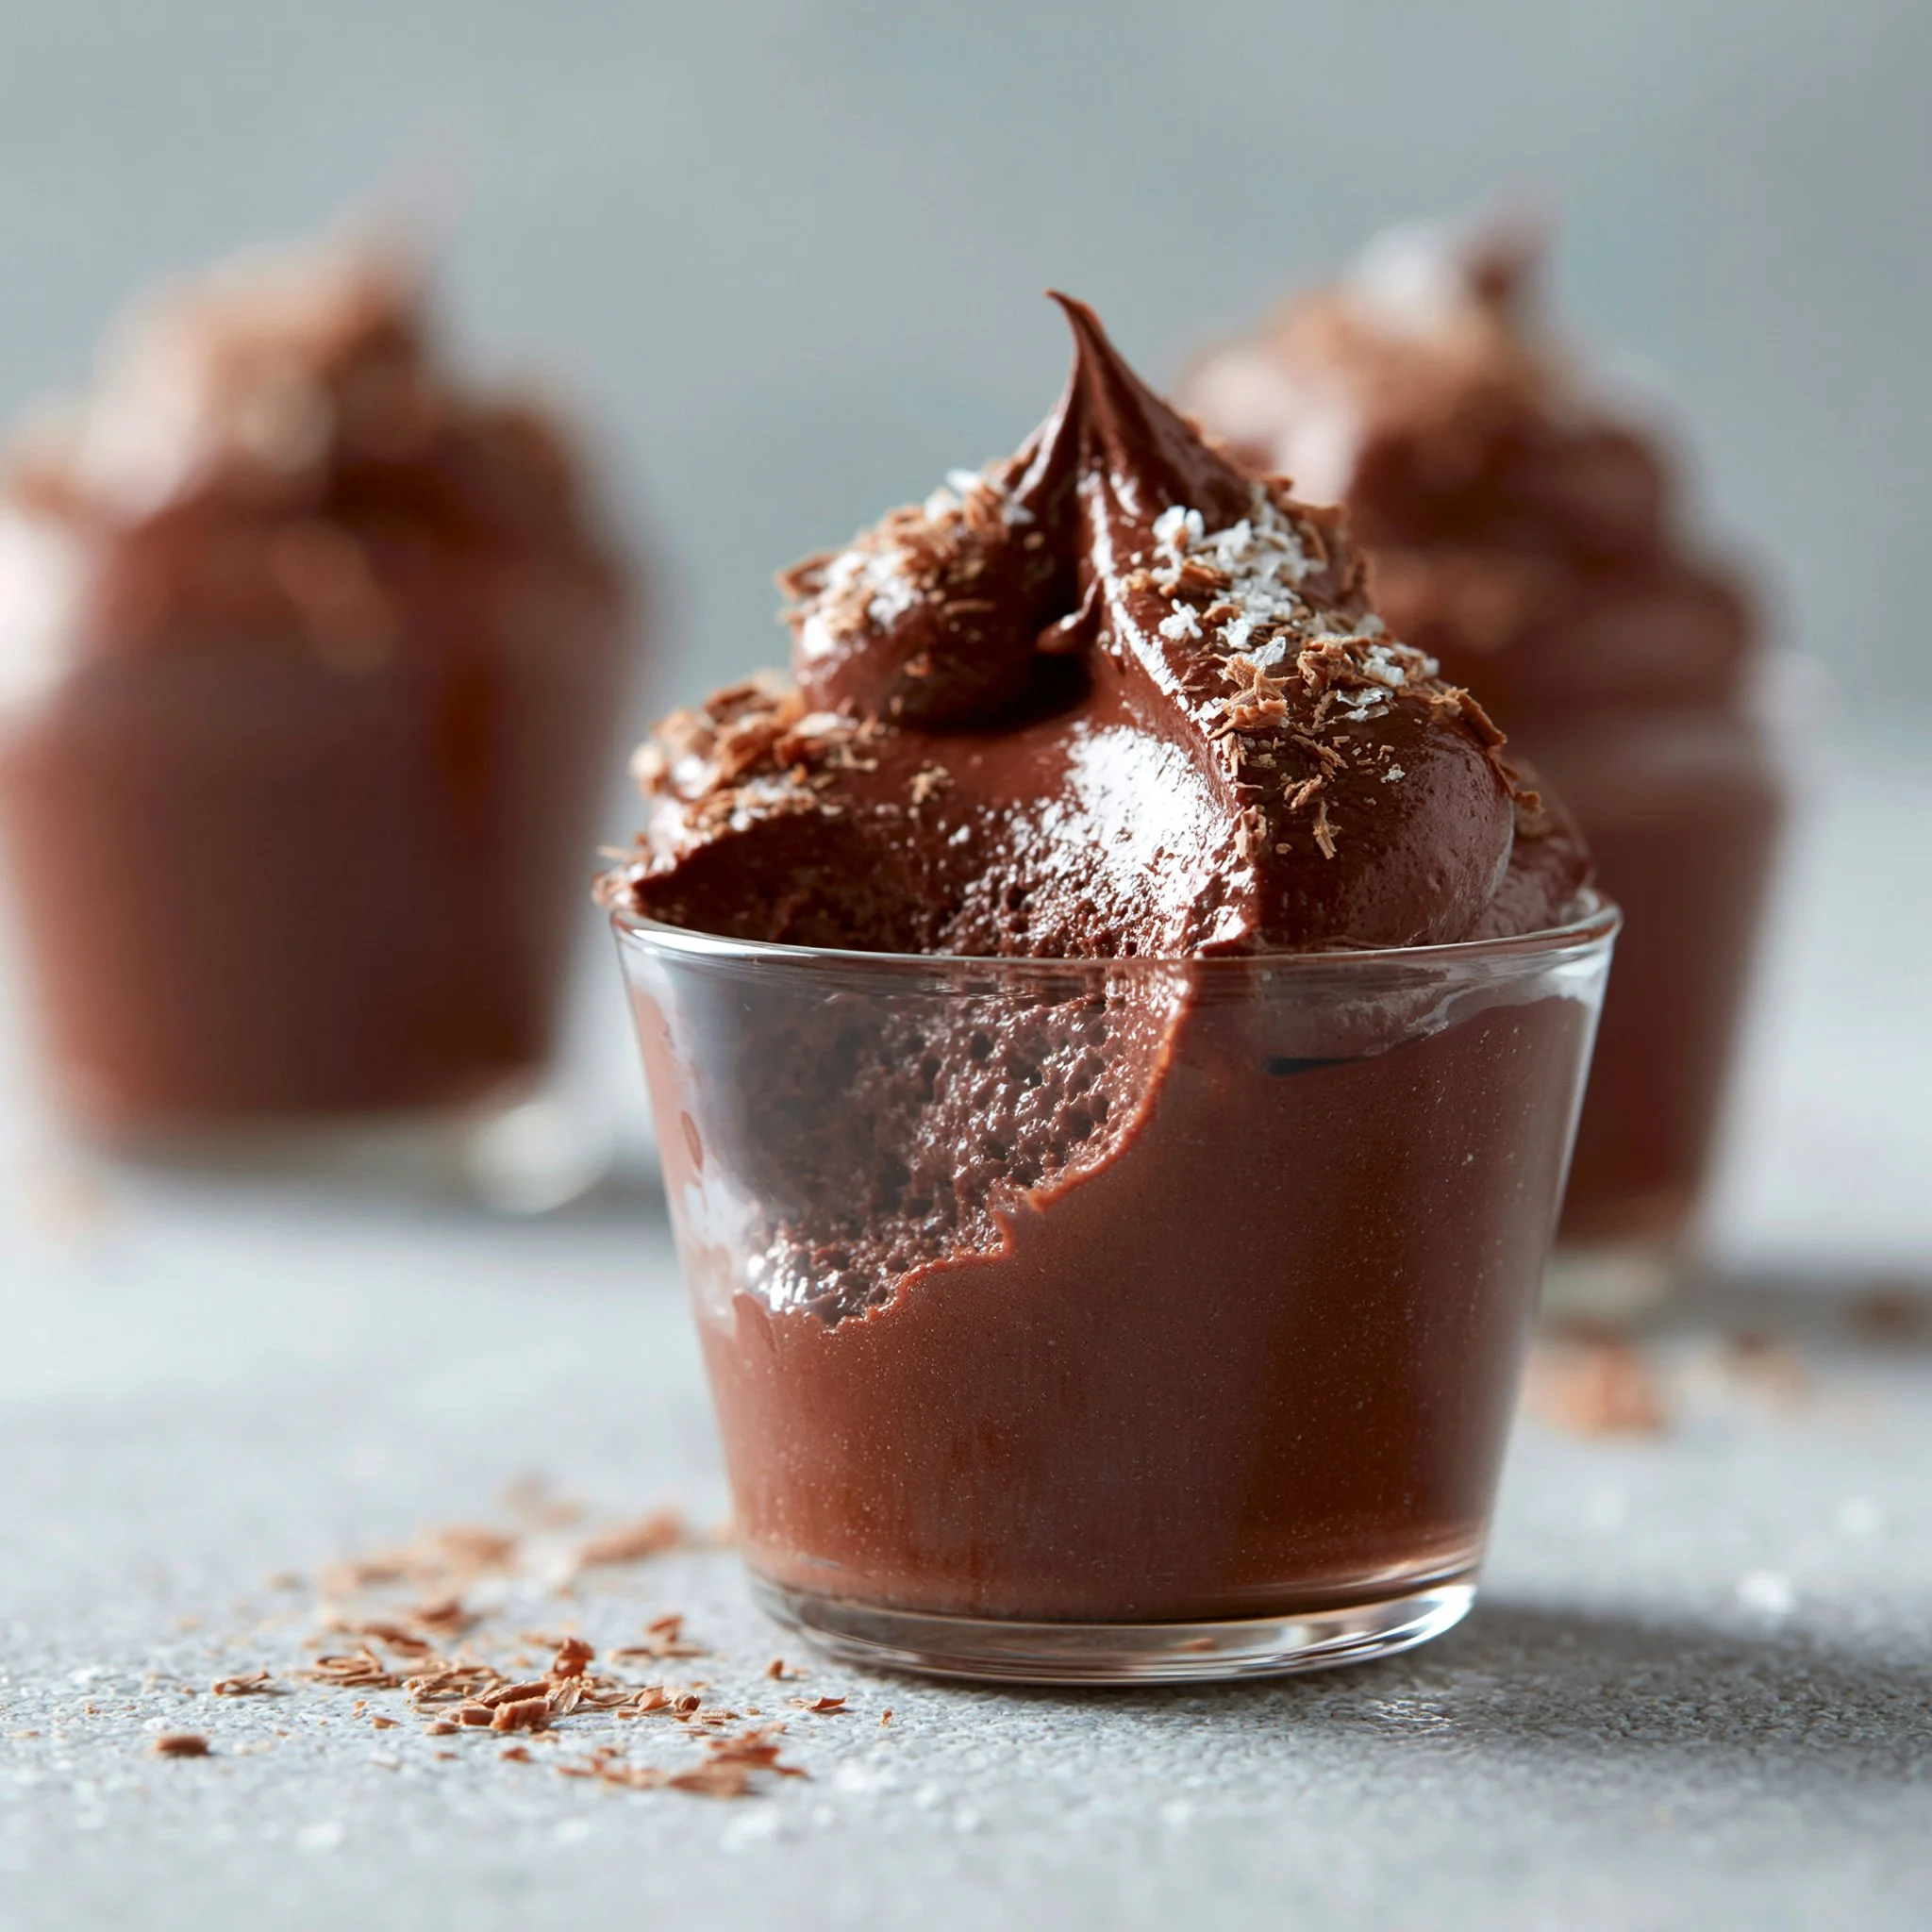
Serve straight from the fridge when it’s softly set and cool. I love it in clear glasses so you can see that deep brown, airy mousse texture. If you’re building a casual brunch table, it’s a great sweet finish after something hearty like an easy breakfast casserole—the light, creamy chocolate is a nice contrast.
How to Store It
Keep the mousse covered in the refrigerator so it doesn’t pick up fridge smells and so the surface doesn’t dry out. It’s best after it’s had time to fully set (at least 2 hours), and it stays nicely spoonable for the next day as well. For a make-ahead breakfast-for-dinner weekend, I’ll often prep mousse while something quick like banana oatmeal pancakes is happening—different vibe, same low-effort satisfaction.

Final Thoughts
This mousse is the kind of dessert that feels like more than the sum of four ingredients—dark chocolate depth, a creamy finish, and a soft, airy set that makes you want “one more spoon.” Take your time with the folds, chill it properly, and you’ll get that smooth, satiny texture every single time.
Conclusion
If you enjoy comparing techniques, you might like the approach in Chocolate Mousse – RecipeTin Eats, the simplified idea behind Easy Chocolate Mousse Recipe (Without Eggs) – Celebrating Sweets, and the classic take in Chocolate Mousse – Girl Versus Dough.
Chocolate Mousse
Ingredients
Method
- Melt the dark chocolate, then cool it slightly until fluid but not hot.
- Whip the heavy cream to soft peaks and set aside.
- Beat the eggs and sugar together until light and fluffy.
- Fold the cooled chocolate into the egg mixture until smooth and even.
- Gently fold in the whipped cream until no white streaks remain.
- Spoon the mousse mixture into serving dishes and chill in the refrigerator for at least 2 hours.