
The best chicken katsu bento has two things going for it: that shatter-crisp panko crust, and a tidy little lineup of rice + veggies that makes lunch feel like you’ve got it together. This version is straightforward—flatten, bread, fry—then slice into golden strips that look like you bought them.
I love packing it up with fluffy rice and a handful of colorful vegetables (think bright bell peppers, orange carrots, and green broccoli). It’s cozy and crisp at the same time, and if you’re into meal-prep, it’s the kind of lunch that actually holds your interest. If you like building lunches with a little structure, you’ll find plenty more ideas in the Citrus and Crave recipe blog.
Why You’ll Love This Recipe
- Crispy, craggy coating: Panko turns deeply golden and stays audibly crunchy, especially right after slicing.
- Juicy chicken, not dry: Flattening the breasts helps them cook evenly in that 4–5 minutes per side window.
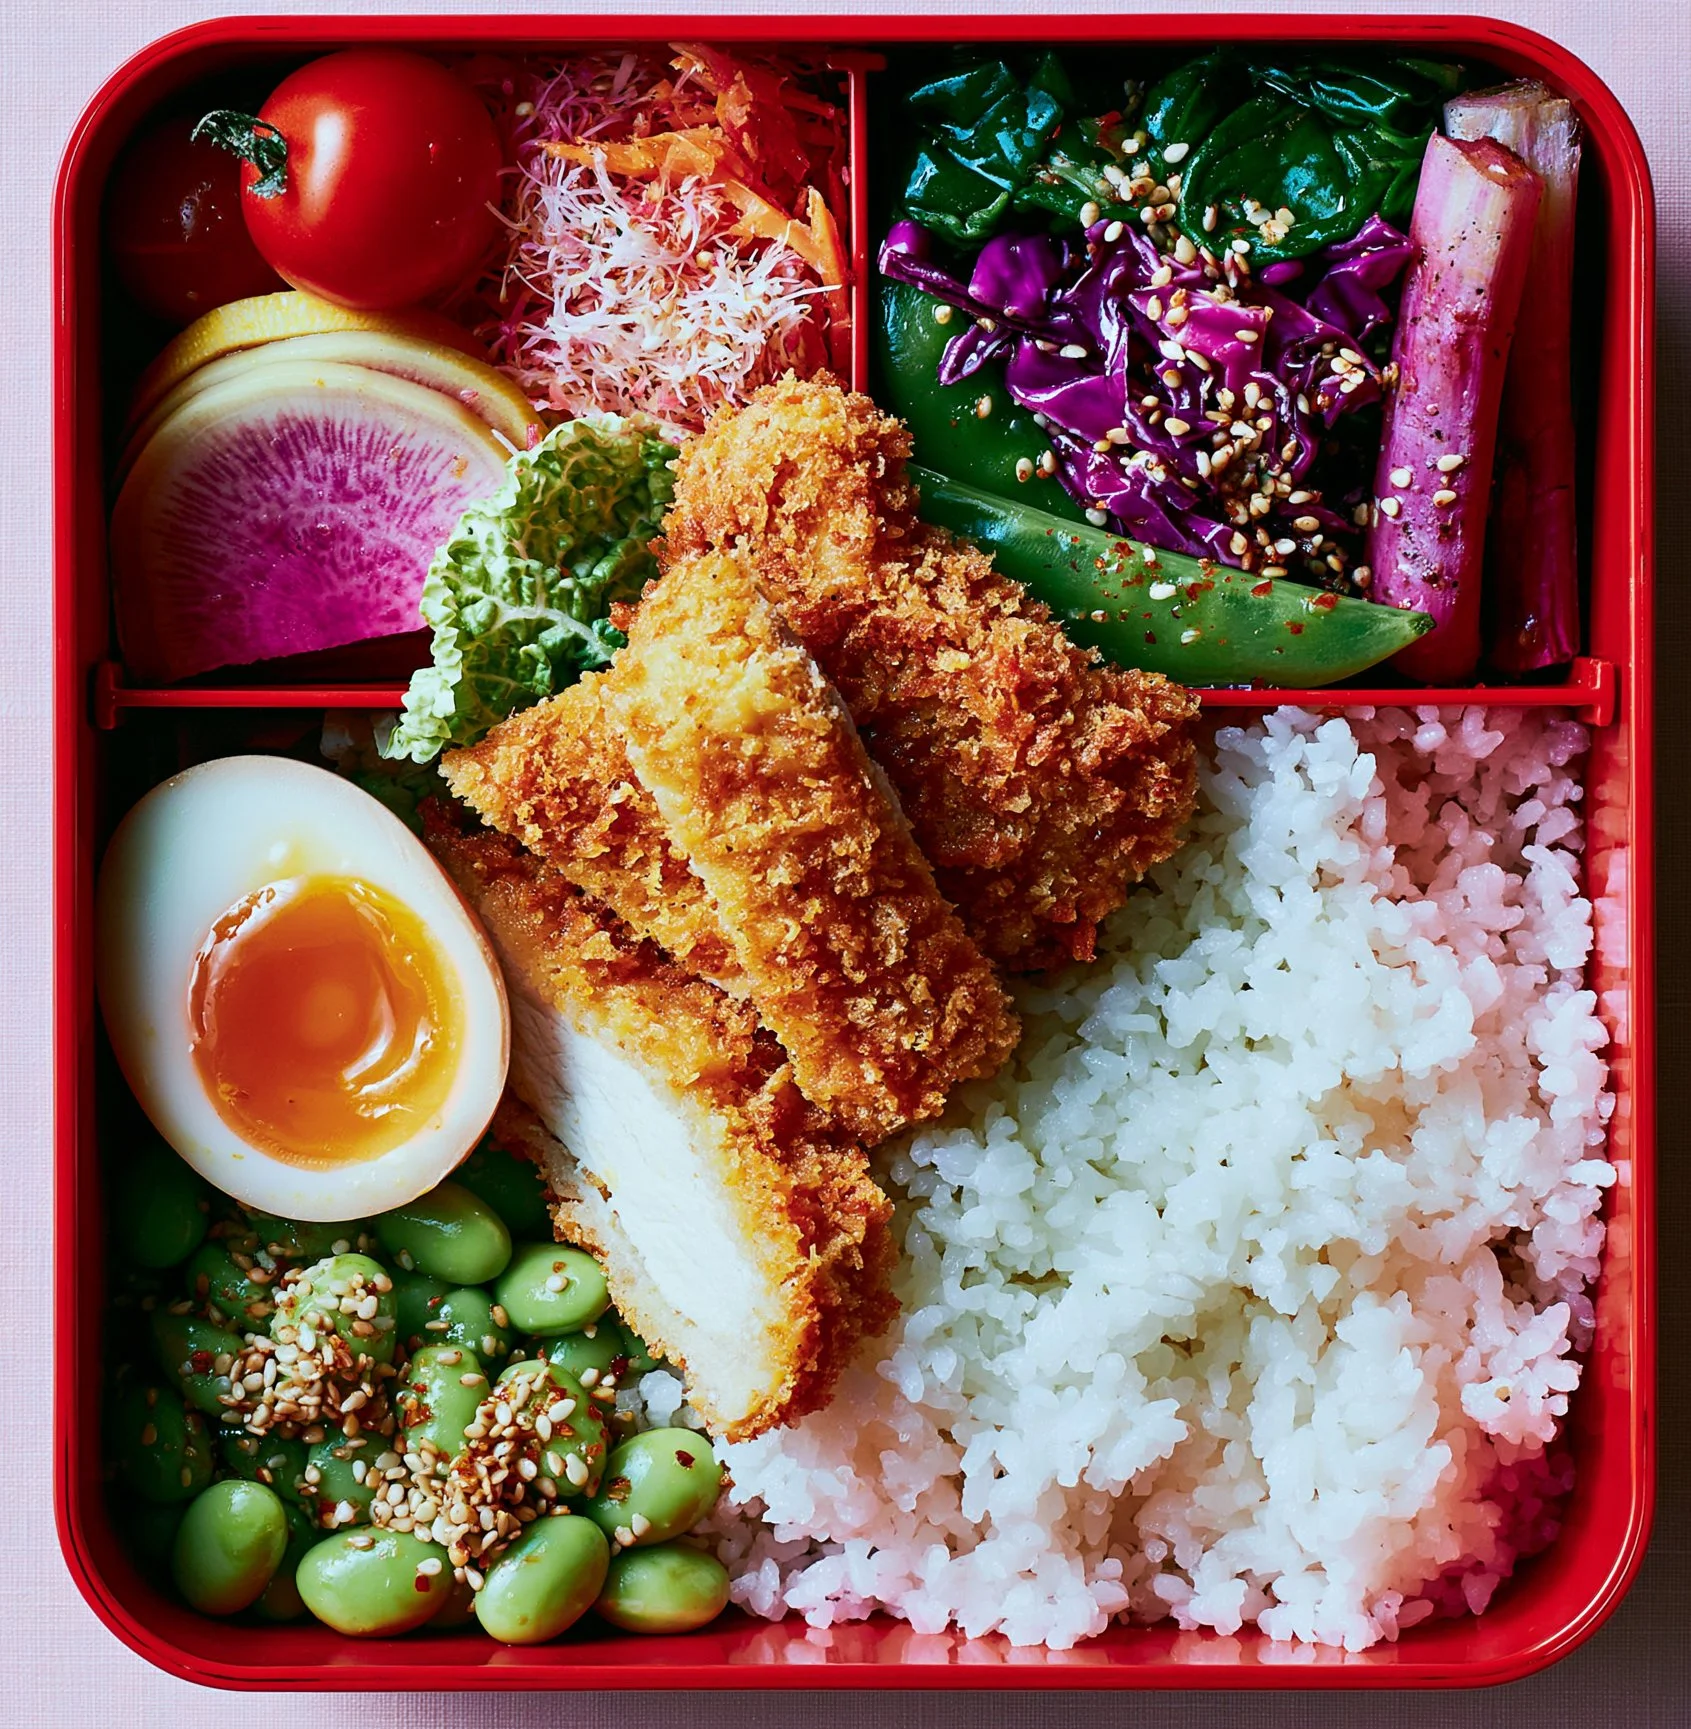
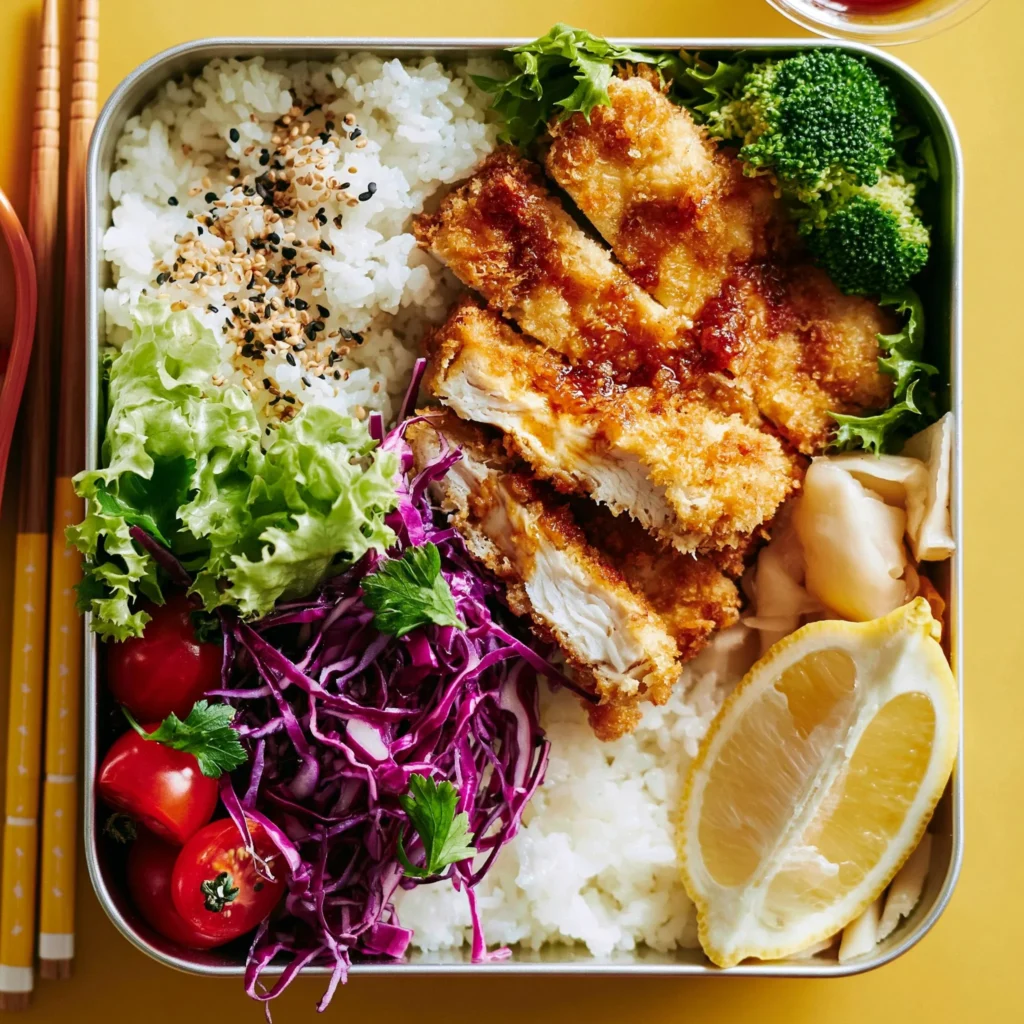
- A bento that looks bright: White rice + golden katsu + mixed veggies gives you that classic, colorful bento contrast without extra fuss.
- Easy breading station workflow: Flour → egg → panko is quick once it’s set up, and it keeps the coating from sliding off.
- Great “dip-and-bite” payoff: Soy sauce is all you need here—salty, savory, and perfect against the crisp crust.
The Story Behind This Recipe
I started making this chicken katsu bento on weeks when I wanted a lunch that felt like a real break—something crispy and warm alongside rice and fresh-tasting vegetables. It’s simple enough for a weeknight, but the sliced katsu strips make the whole box look intentional (and honestly, more fun to eat).
What It Tastes Like
You get a savory, lightly seasoned chicken cutlet with a toasty panko crunch and a gentle eggy richness under the crust. The aroma is pure fried panko—warm and nutty—while the veggies add that clean, fresh snap next to the soft, fluffy rice. Dipped in soy sauce, every bite hits salty-crisp-tender in a really satisfying rhythm.
Ingredients You’ll Need
The key players here are panko breadcrumbs (for that airy crunch), eggs + flour (to help the panko cling in a thick, even coat), and chicken breasts you’ll flatten so the center cooks through before the crust gets too dark. For the bento base, fluffy cooked rice balances the richness of the fried cutlet, and colorful veggies keep everything feeling fresh and crisp.
- 1 lb chicken breasts
- 1 cup panko breadcrumbs
- 1/2 cup all-purpose flour
- 2 eggs
- Salt and pepper to taste
- Oil for frying
- 2 cups cooked fluffy rice
- Assorted colorful veggies (e.g., bell peppers, carrots, broccoli)
- Soy sauce for serving
How to Make Chicken Katsu Bento Box
-
Flatten and season the chicken.
Place the chicken breasts on a cutting board and flatten them to an even thickness. You’re aiming for uniform thickness so the cutlets cook evenly. Season both sides with salt and pepper. -
Set up your breading station.
Line up three shallow dishes: flour in the first, beaten eggs in the second, and panko breadcrumbs in the third. This assembly-line setup keeps your hands and coating neat and consistent. -
Bread the chicken (flour → egg → panko).
Dredge each chicken breast in flour (shake off excess), dip into the beaten egg, then press into the panko. Use your hands to gently press the crumbs on so you get a thick, even layer—especially around the edges. -
Fry until deeply golden and cooked through.
Heat oil in a frying pan over medium heat. Fry the chicken cutlets for 4–5 minutes per side, until the coating is a rich golden brown and the chicken feels firm and cooked through. If the panko is browning too quickly, lower the heat slightly—panko can go from golden to too dark fast. -
Drain briefly for maximum crunch.
Transfer the fried cutlets to paper towels. Let them sit for a minute or two so excess oil drains off; this keeps the crust crisp instead of greasy. -
Slice into strips.
Slice the chicken katsu into strips. You should hear that crust crackle as you cut—one of the best parts. -
Build the bento box.
Add a bed of fluffy rice, arrange the sliced katsu, and tuck in your assorted vegetables (bell peppers, carrots, broccoli—whatever mix you’re using). I like to keep the veggies in a separate section so they stay crisp next to the warm katsu. -
Serve with soy sauce.
Pack soy sauce for dipping (or drizzle lightly right before eating if you like a little soak into the rice).
Tips for Best Results
- Don’t skip flattening: Even thickness is what makes “4–5 minutes per side” actually work without dry edges or an undercooked center.
- Press the panko on: A gentle press helps create that signature katsu shell—craggy, thick, and less likely to fall off when you slice.
- Watch the color more than the clock: You’re looking for a deep golden brown crust. If it’s getting dark before the chicken is done, reduce the heat and give it the time it needs.
- Drain on paper towels right away: It’s a small step that keeps the coating crisp, not oily.
- Pack with contrast in mind: Bright veggies (green broccoli, orange carrots, red peppers) make the bento look as good as it eats.
Variations and Substitutions
- Vegetable mix: Use any combination of colorful vegetables you like—crunchy raw bell peppers and carrots, or broccoli alongside them. The key is keeping that fresh, crisp contrast with the hot, crunchy katsu.
- Chicken size: If your breasts are large, flattening helps you get a cutlet shape that fries evenly and slices neatly into bento-friendly strips.
How to Serve It
Serve this bento with the chicken katsu sliced and fanned over rice so it stays crisp on top, with soy sauce on the side for dipping. I like the veggies arranged in their own section so they don’t steam the crust—especially if you’re packing it for later. For a cozy weekend lunch spread, pair it with something sweet and snacky afterward like crispy air fryer apple fries.
How to Store It
Store leftovers in the fridge in a covered container. If you’re packing ahead, keep the chicken separate from the rice and veggies when you can—crispy katsu and fluffy rice hold up better when they aren’t sitting directly against each other. Any leftover sliced katsu is best eaten soon so the panko stays as crunchy as possible.

Final Thoughts
Once you’ve made chicken katsu this way—golden panko, juicy chicken, fluffy rice, and bright veggies—it’s hard not to want it in regular rotation. It’s simple cooking with a very real payoff: crunch, comfort, and a bento box that looks as fresh as it tastes.
Conclusion
If you want to see other takes and bento inspiration, I love comparing notes with guides like Chicken Katsu Bento チキンカツ弁当, this approachable Chicken Katsu Rice Bowl, and even restaurant-style plating ideas from a Katsu Bento Box menu. And if you’re building out a full make-ahead week, I often pair bento lunches with easy breakfasts like baked cottage cheese eggs, an easy breakfast casserole, or 3-ingredient banana oatmeal pancakes to keep mornings just as unfussy.
Chicken Katsu Bento Box
Ingredients
Method
- Flatten and season the chicken by placing the chicken breasts on a cutting board and flattening them to an even thickness. Season both sides with salt and pepper.
- Set up your breading station with three shallow dishes: flour in the first, beaten eggs in the second, and panko breadcrumbs in the third.
- Bread the chicken by dredging each breast in flour, dipping into the beaten egg, then pressing into the panko breadcrumbs.
- Heat oil in a frying pan over medium heat. Fry the chicken cutlets for 4–5 minutes per side until the coating is deeply golden brown.
- Transfer the fried cutlets to paper towels to drain briefly for maximum crunch.
- Slice the chicken katsu into strips and build the bento box by adding a bed of fluffy rice, arranging the sliced katsu, and tucking in assorted vegetables.
- Serve the bento with soy sauce for dipping.