
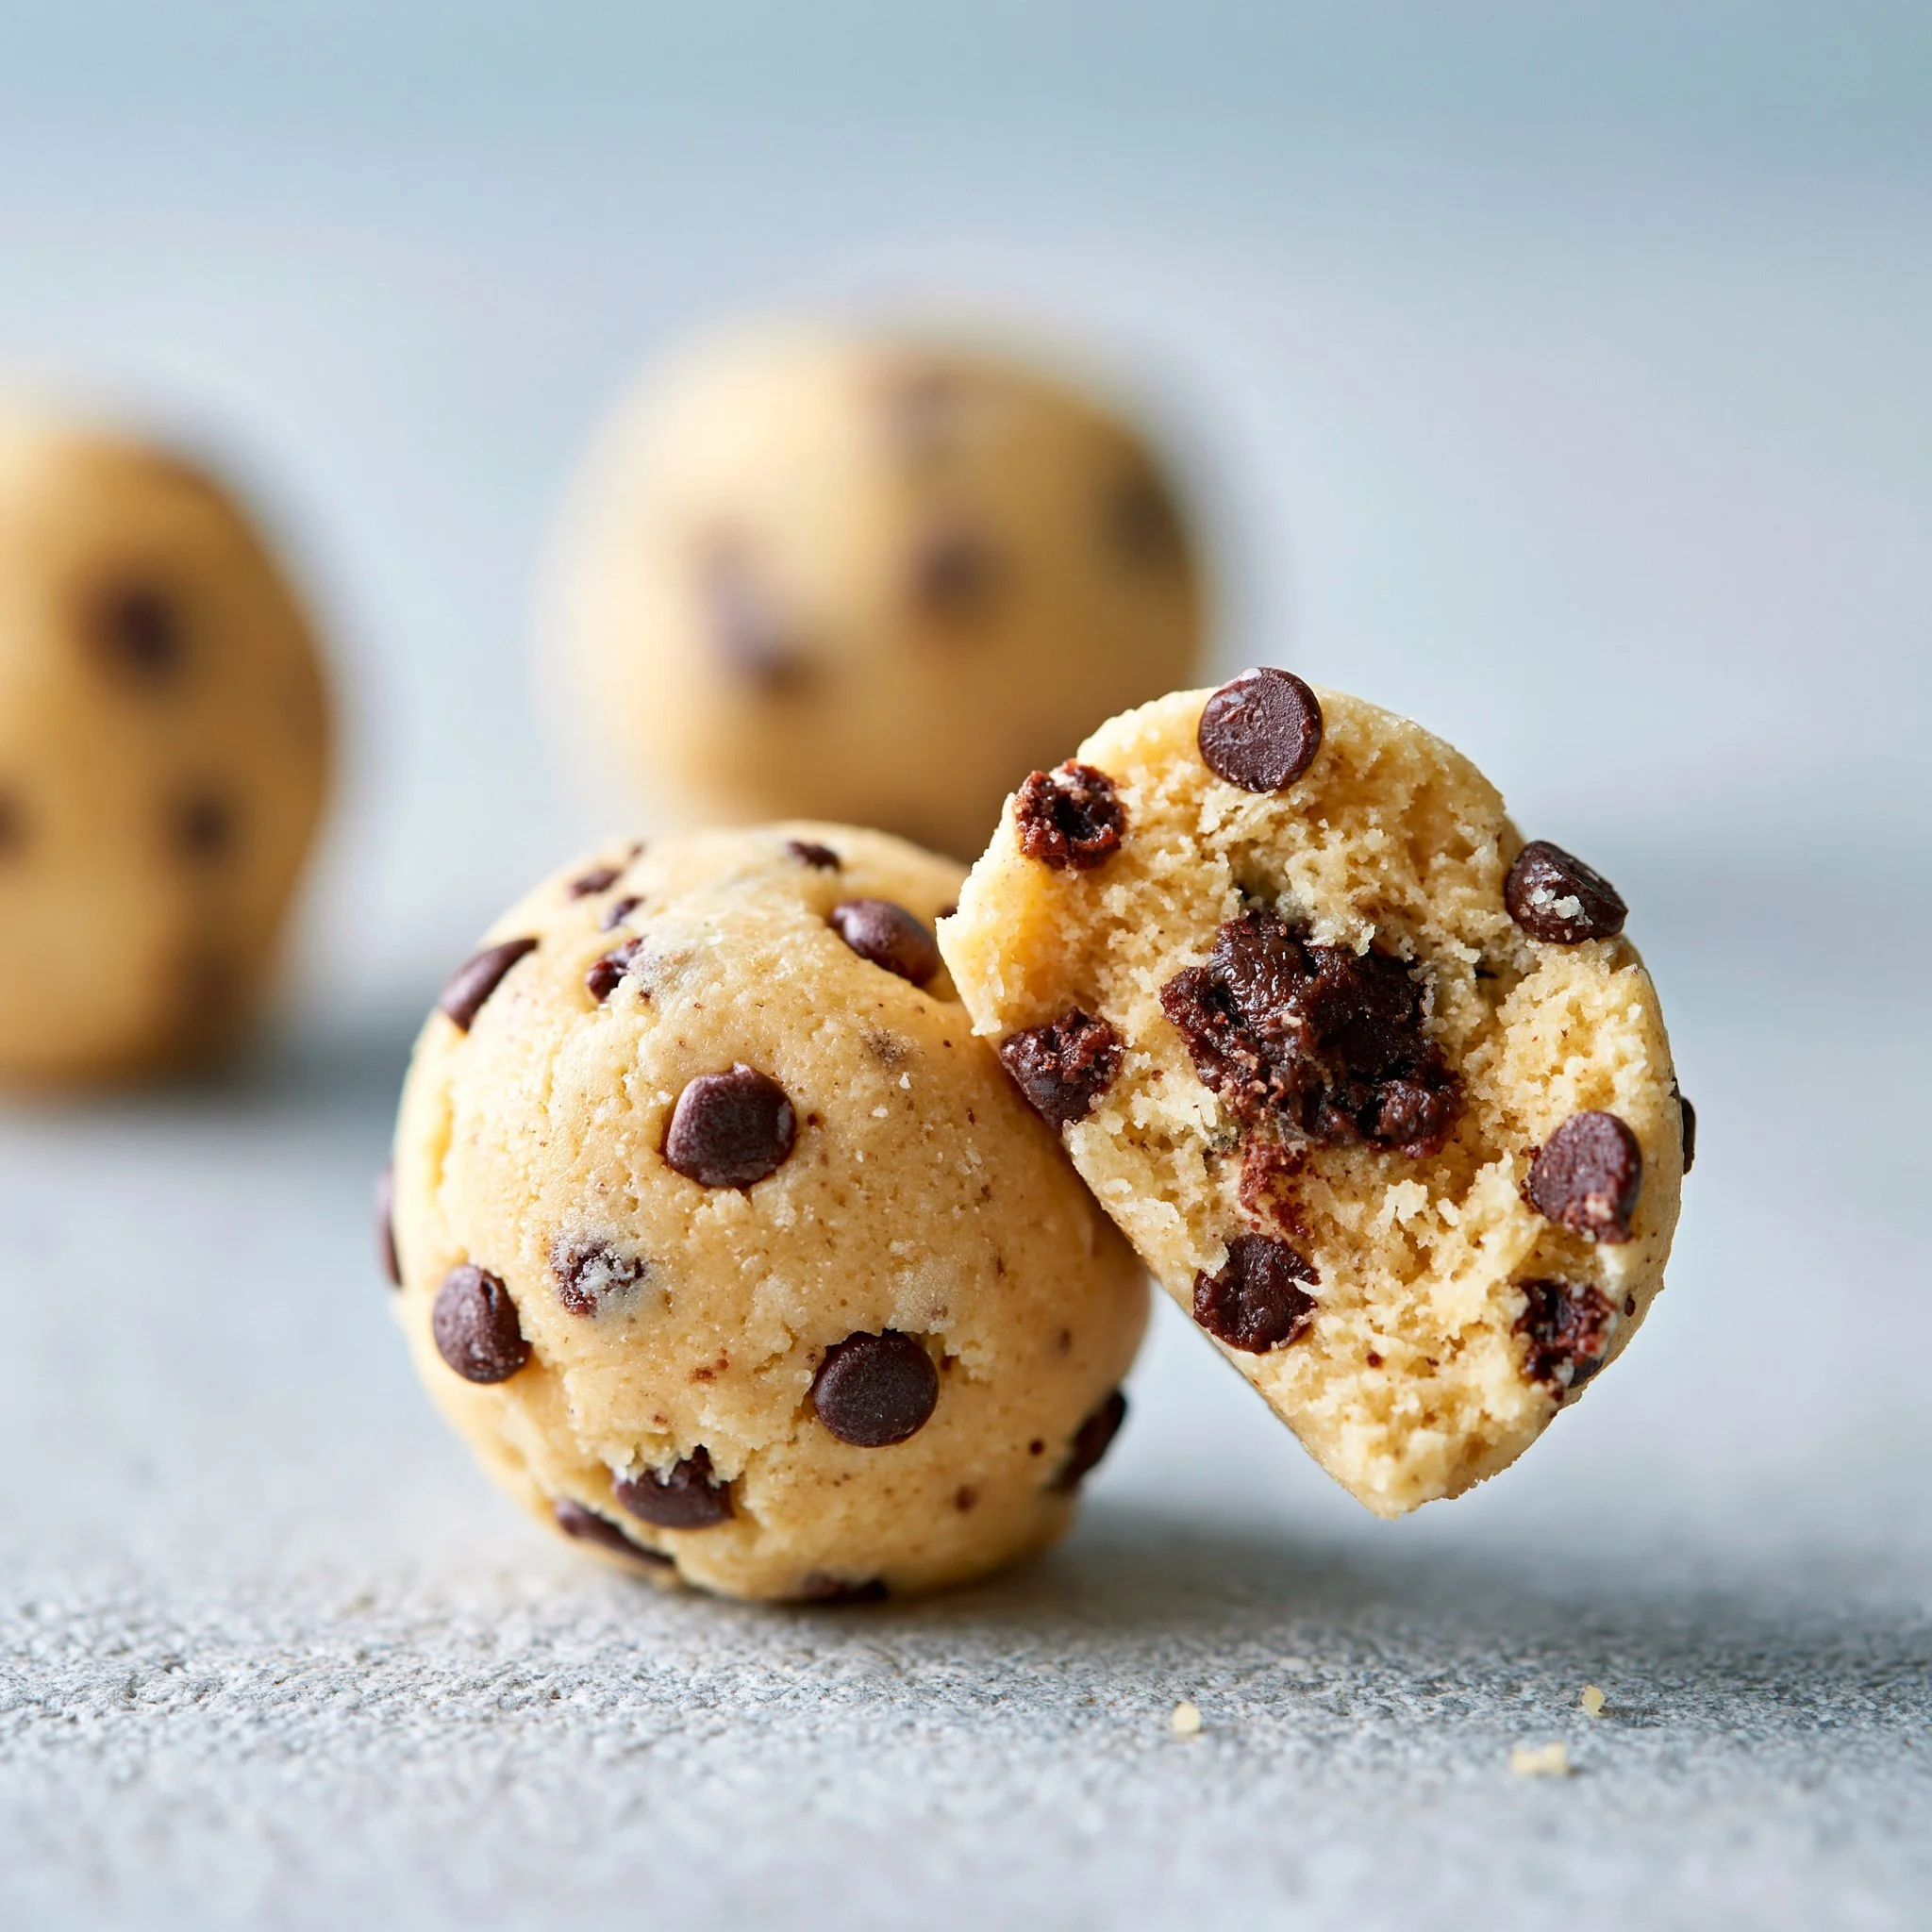
When you want the comfort of cookie dough now—no oven, no waiting—these little bites deliver. The center is soft and buttery with that classic brown-sugar warmth, and the mini chocolate chips make every bite feel properly “cookie dough,” not just sweet dough.
The chocolate coating is the best part: a thin shell that sets around the chilled dough so you get a clean snap into a creamy middle. If you’ve ever wished cookie dough was easier to portion (and less messy), rolling it into bite-size balls is the move—and it’s a great jumping-off point if you also love my edible cookie dough for one for smaller cravings.
Why You’ll Love This Recipe
- The butter + two-sugar combo (white and light brown) gives the dough that real bakery-cookie flavor—caramel-y, not flat sweet.
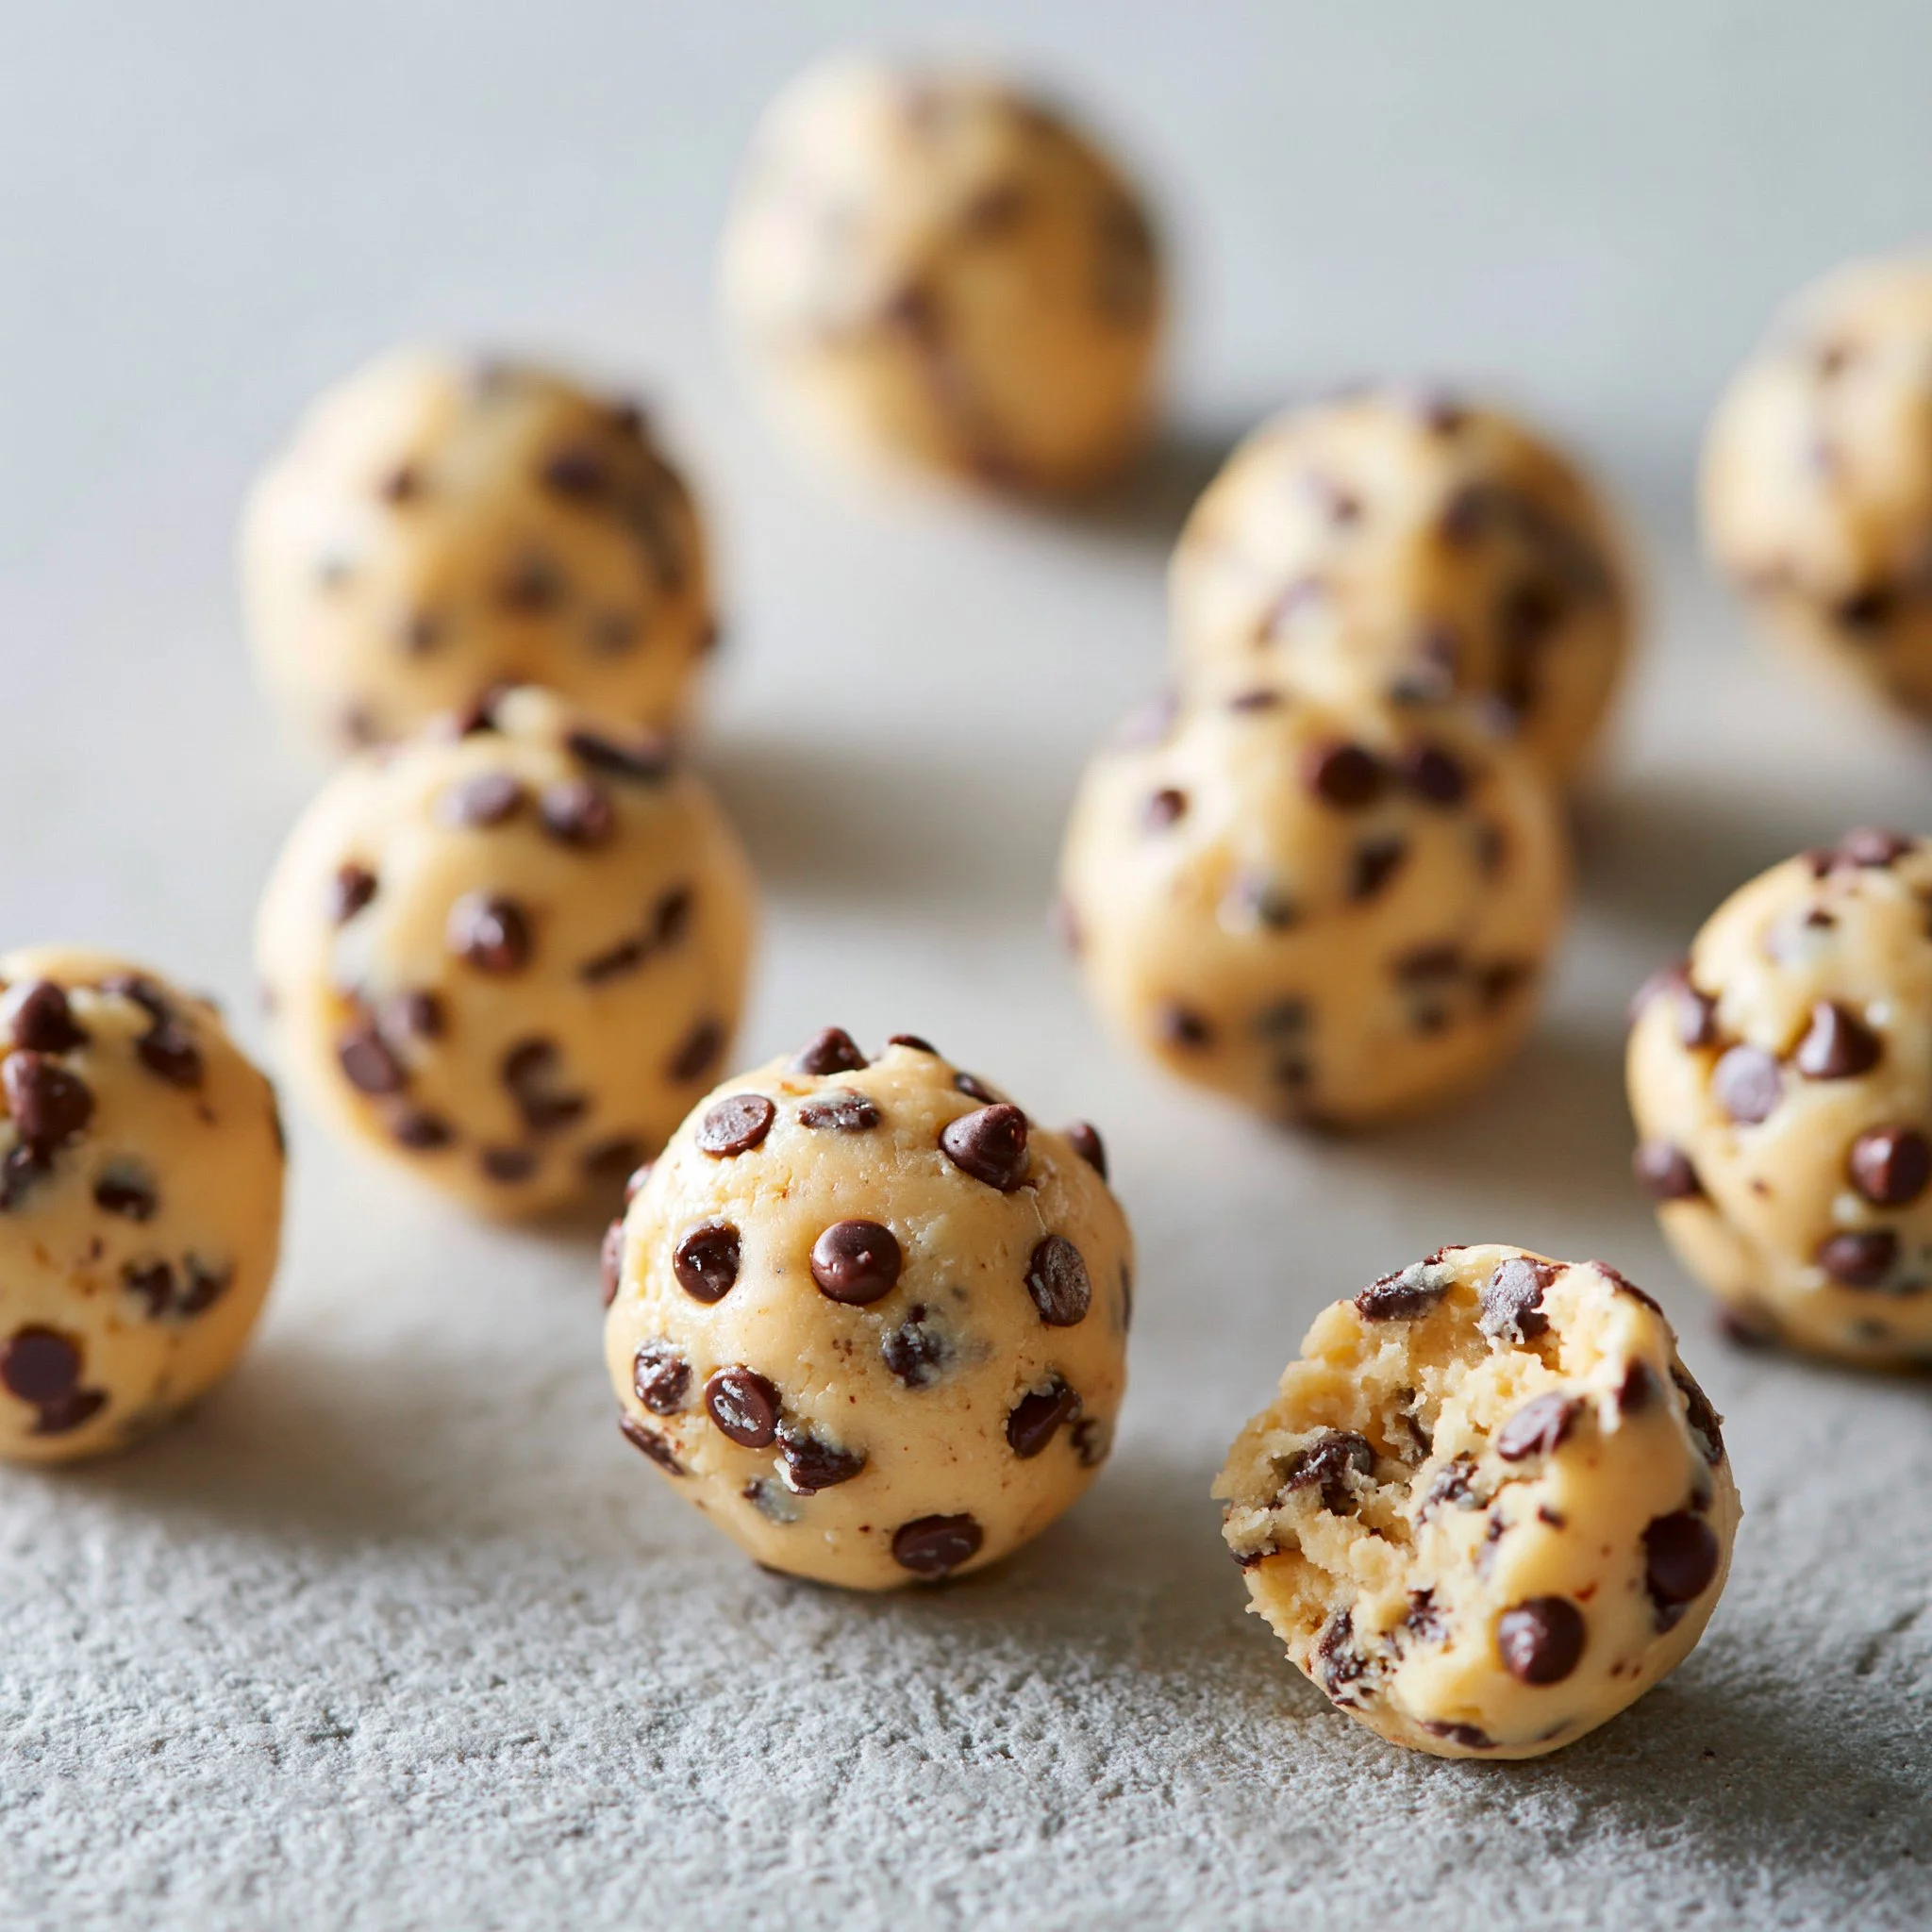
- Mini chocolate chips distribute evenly, so you don’t get “chipless” bites.
- Chilling the dough balls before dipping means the centers stay soft and creamy, not squishy-messy in the chocolate.
- The chocolate shell makes them feel like a finished candy—easy to stack, gift, or stash in the fridge.
- You can control the texture with the milk: use the full ⅓ cup for gooier dough, or hold back a splash for firmer bites.
The Story Behind This Recipe
I started making these when I wanted that cookie-dough satisfaction but with a cleaner, hand-held finish—something you can grab from the fridge without a spoon. Rolling the dough first, then coating in melted chocolate, turns a simple butter-and-sugar dough into a tidy little treat (and it scratches the same itch as my cheesecake-stuffed chocolate chip cookies, just without turning on the oven).
What It Tastes Like
Think classic chocolate chip cookie dough: sweet, vanilla-scented, and rich from two full sticks of butter, with a noticeable brown-sugar depth. The texture is the payoff—soft and plush inside with tiny pops of chocolate chips, wrapped in a smooth chocolate layer that firms up into a light snap when set.
Ingredients You’ll Need
This recipe is all about getting the dough texture right: softened butter creams into the sugars for a fluffy base, flour + salt give structure and balance, and milk lets you fine-tune whether the dough is scoopable-firm or extra gooey. For coating, choose milk chocolate for a sweeter bite or dark chocolate for more contrast. If you’re in a no-bake mood, you might also like my no-bake cinnamon roll cookies.
- 2 sticks (227 g) unsalted butter, softened
- ¾ cup (150 g) white sugar
- ¾ cup (165 g) light brown sugar
- 2 cups (250 g) all-purpose flour
- ⅓ cup milk
- 1 teaspoon salt
- 1 teaspoon vanilla extract
- ⅔ cup (120 g) mini chocolate chips
- 200 g milk or dark chocolate (for coating)
How to Make No-Bake Cookie Dough Bites
-
Cream the butter and sugars.
In a large mixing bowl, beat the softened butter with the white sugar and light brown sugar until the mixture looks lighter in color and a bit fluffy (it should lose that dense, greasy look). -
Add vanilla.
Mix in the vanilla extract until you don’t see any streaks—your dough should smell immediately like classic cookie dough. -
Build the dough with flour and salt.
Stir in the flour and salt. At first it’ll look crumbly and dry, then it will start clumping into a soft dough as you keep mixing. -
Adjust the texture with milk.
Gradually add the milk, mixing between additions. Use all the milk for a softer, gooier dough; stop a little early if you want it firmer for rolling. You’re looking for a dough that holds together when squeezed without feeling wet. -
Fold in the mini chips.
Add the mini chocolate chips and fold until they’re evenly scattered throughout—no big chip pockets, no bare spots. -
Roll into bites and chill.
Scoop heaped teaspoons of dough and roll into small balls with your hands. Set them on a parchment-lined tray, then refrigerate while you prep the chocolate. (A short chill makes dipping dramatically easier and neater.) -
Melt the chocolate.
For the glossiest finish and best “snap,” temper the chocolate using a thermometer or simplified method. If you’re skipping tempering, microwave the chocolate in 30-second bursts, stirring well each time, until fully melted and smooth (stop as soon as it’s fluid—overheating makes it thick and dull). -
Dip and set.
Dip each chilled dough ball into the melted chocolate using a fork or dipping tool. Let the excess drip off for a few seconds, then place it back on a lined baking sheet. If you want a super uniform look, you can use a chocolate mold instead. Let the coating set at room temperature, or pop the tray in the refrigerator to speed things up.
Tips for Best Results
- Start with truly softened butter. If it’s too cold, the sugars won’t cream well and the dough can feel dense instead of plush.
- Add milk gradually, not all at once. The difference between “perfectly rollable” and “too soft to dip” is sometimes just a tablespoon.
- Chill the rolled balls before dipping. Cold dough holds its shape so the chocolate goes on as a clean shell instead of sliding off.
- Microwave chocolate gently. Short bursts + thorough stirring keep it smooth; once chocolate overheats, it can turn thick and hard to dip.
- Let excess chocolate drip. A few extra seconds over the bowl prevents puddles and gives you a thinner, neater coating.
Variations and Substitutions
- Milk vs. dark chocolate coating: Milk chocolate makes these taste extra classic and sweet; dark chocolate gives a deeper, slightly bittersweet contrast.
- Dough texture: Use the full ⅓ cup milk for a softer center; hold back a little for a firmer, more truffle-like bite.
- If you’re on a big no-bake kick, my no-bake coconut cookies and chocolate peanut butter no-bake oatmeal cookies are worth a look next.
How to Serve It
Serve these slightly chilled for the cleanest bite and best chocolate “snap,” or let them sit out a few minutes if you want the centers extra soft. I like piling them onto a small platter so the glossy chocolate coating shows off, or tucking a few into a lunchbox-style container for a sweet treat that won’t crumble.
How to Store It
Store the bites in a covered container in the refrigerator so the chocolate stays set and the centers stay firm enough to handle. If you want to make them ahead, roll and chill the dough balls first, then dip when you’re ready—freshly coated bites look the glossiest right after setting.
Final Thoughts
These no-bake cookie dough bites hit that sweet spot between homemade comfort and candy-shop polish: brown-sugar-rich dough, mini chips in every bite, and a simple chocolate coating that makes them feel finished. Keep a batch in the fridge and you’ll understand why they disappear one by one.
Conclusion
If you want to compare approaches (especially around coating and finishing), I also like reading No-Bake Edible Cookie Dough Bites – State of Dinner, Easy No Bake Cookie Dough Bites | Cake ‘n Knife, and No Bake Cookie Dough Bites – Kalejunkie—it’s a nice reminder of how many small, workable ways there are to make this style of treat your own.

No-Bake Cookie Dough Bites
Ingredients
Method
- Cream the butter and sugars in a large mixing bowl until lighter in color and fluffy.
- Mix in the vanilla extract until evenly combined.
- Stir in the flour and salt until the dough starts clumping together.
- Gradually add milk, mixing until desired texture is reached—softer for gooey bites, firmer for truffles.
- Fold in the mini chocolate chips until evenly distributed.
- Scoop heaped teaspoons of dough and roll into small balls. Place on a parchment-lined tray and refrigerate.
- Melt the chocolate gently using your preferred method.
- Dip each chilled dough ball into the melted chocolate, letting excess drip off, then place back on a lined baking sheet.
- Let the coating set at room temperature or refrigerate to speed up the process.